A vine-covered pergola is a wonderful asset in any garden, providing a shady seating area and visual interest, and if a deciduous vine is chosen, the area becomes a sunny seating area in winter. There are so many wonderful deciduous vines to feature on a pergola, whether fruit-bearing like grape or kiwifruit, or purely ornamental, like aromatic wisteria or showy ornamental grape. We have started growing some of these vines on our Wind Sheltered Patio pergola, and we hope it will eventually be a glorious place to sit…but even when bedecked in blue wisteria flowers, this patio is useless when it rains. We needed a covered pergola.
We decided that to make best use of the paving area around our pizza oven, it would need to be covered.
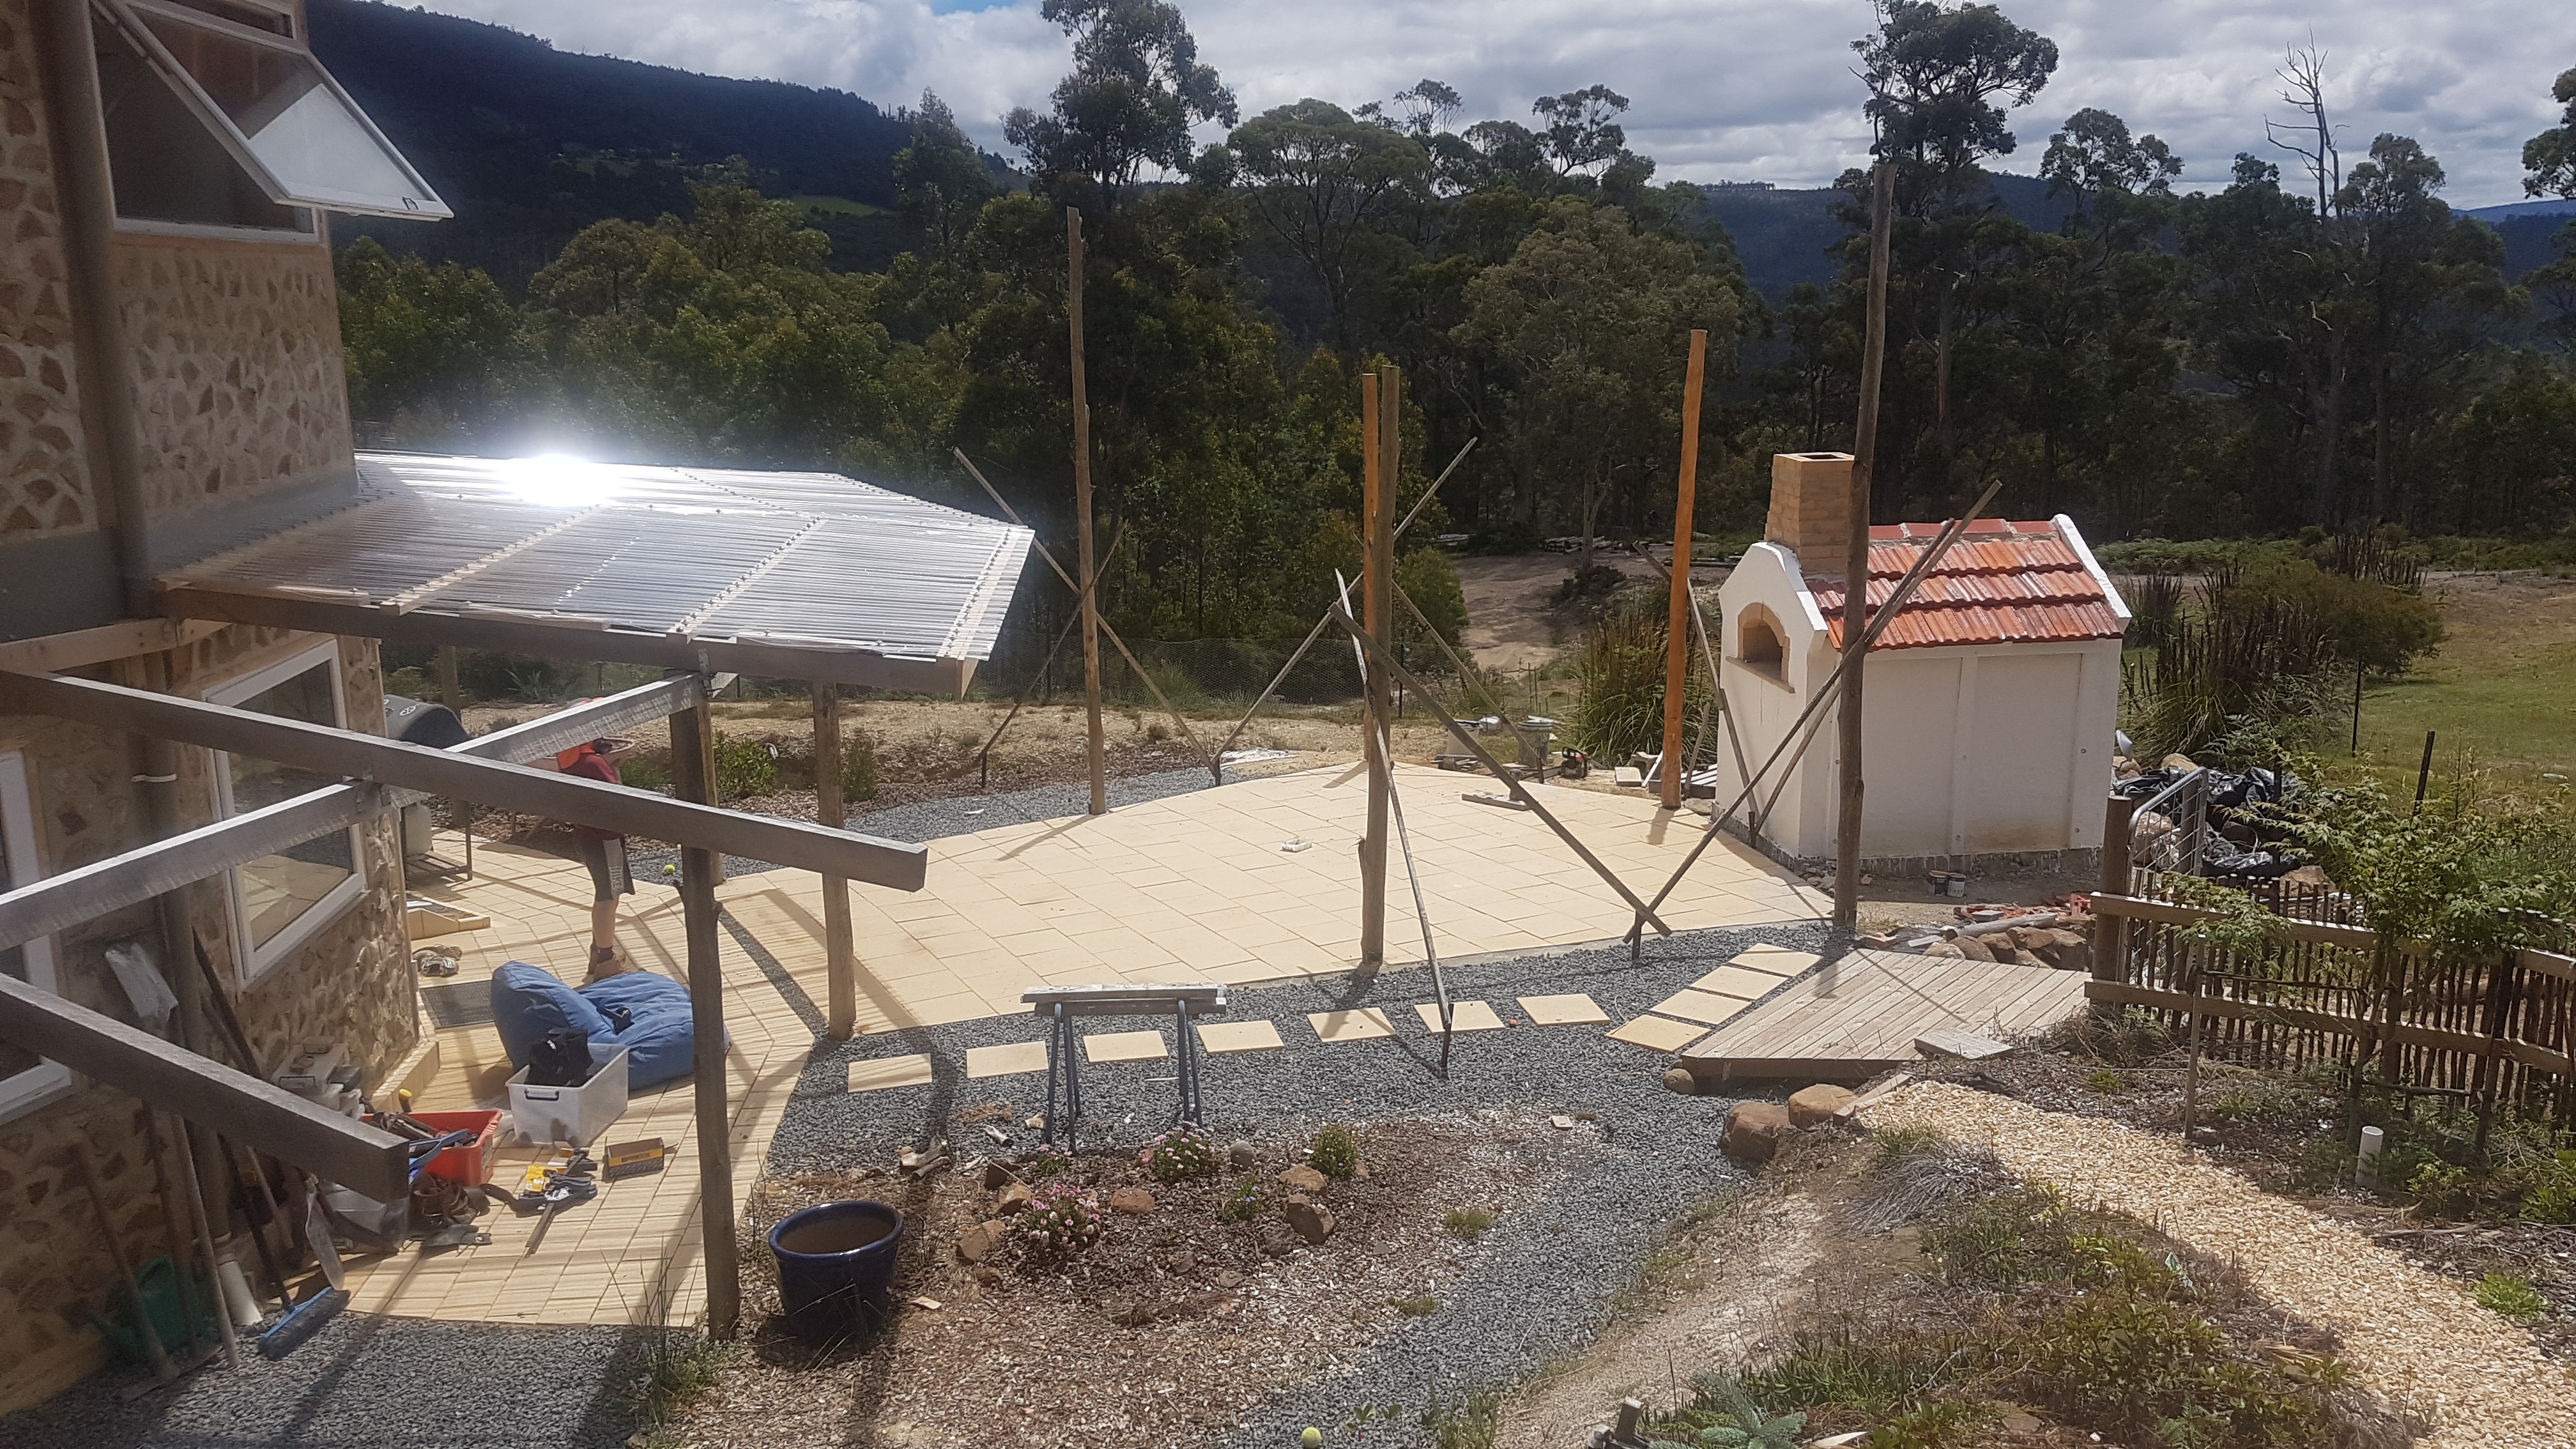
Once again, we used bushpoles for the posts, beams, and rafters of this pergola. Not only does this mean that there are no timber costs for the project, it also helps with clearing out regrowth.

It was a bit tricky working out how to deal with the combined stormwater from the front porch roof and the new covered pergola. Peter had to calculate the height of the edge of the covered pergola so that it would fit under the edge of the front porch roof. A gutter was attached to this beam to carry away water from both roofs.
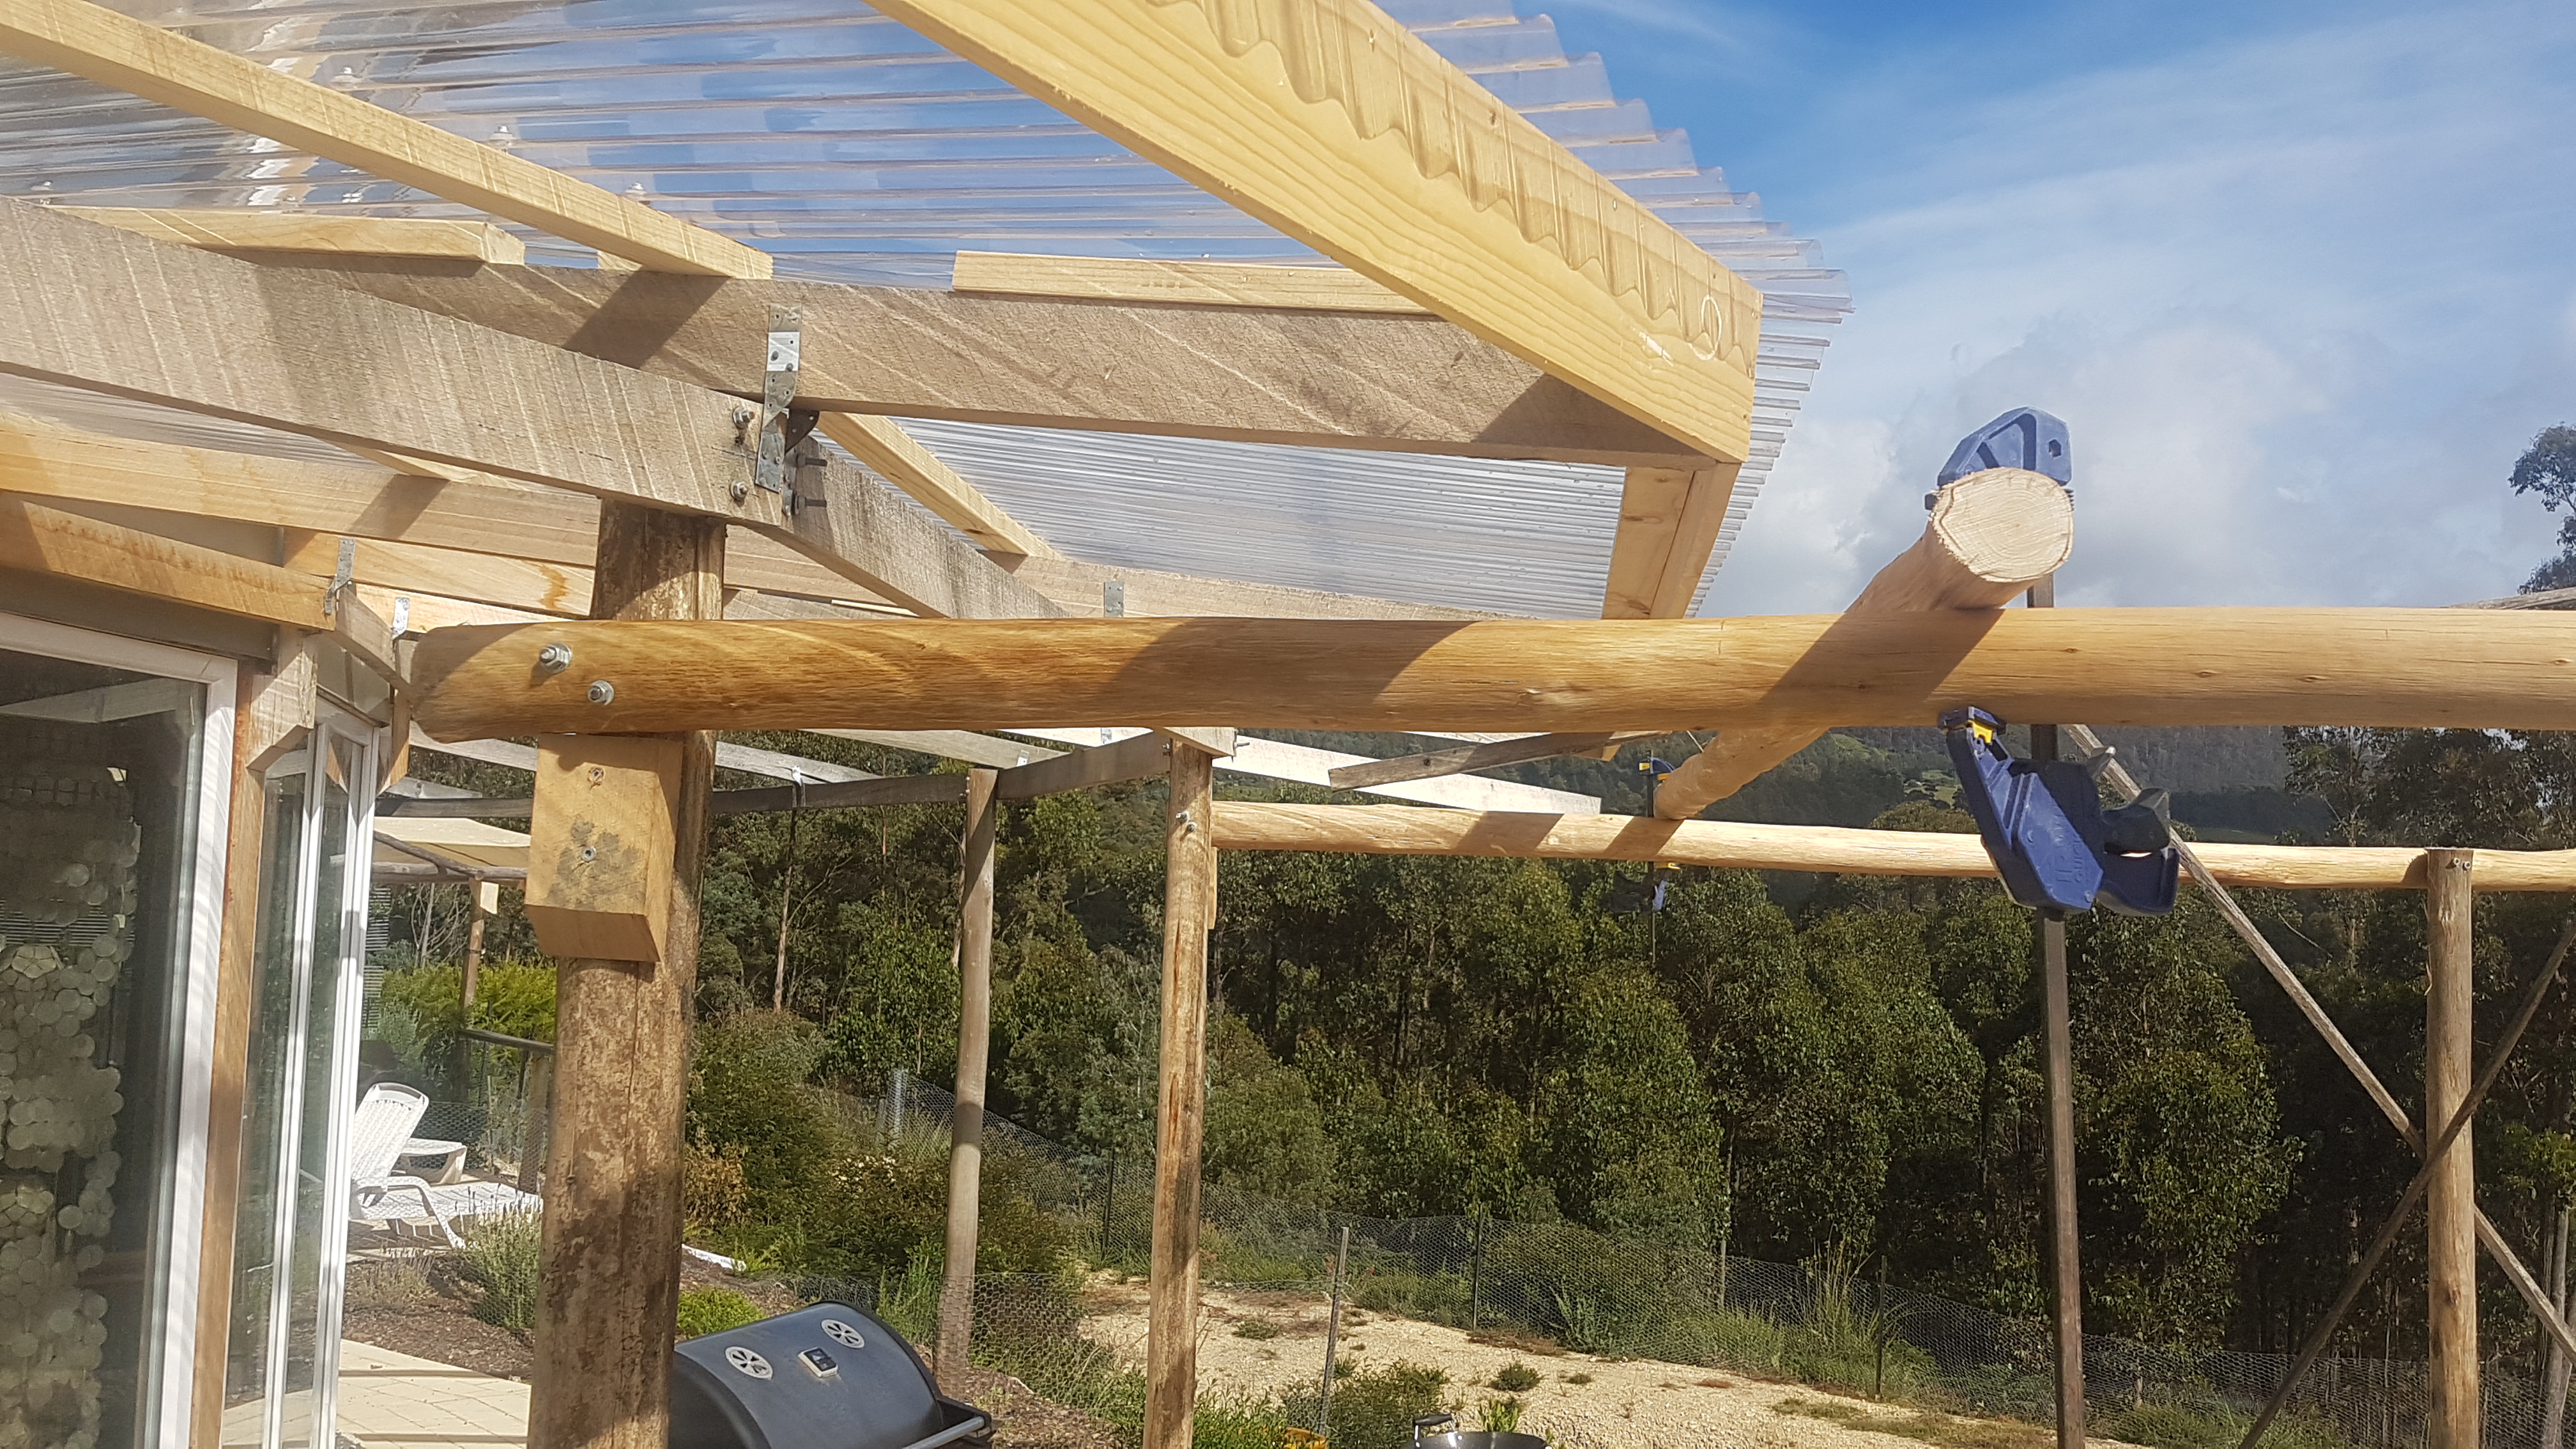
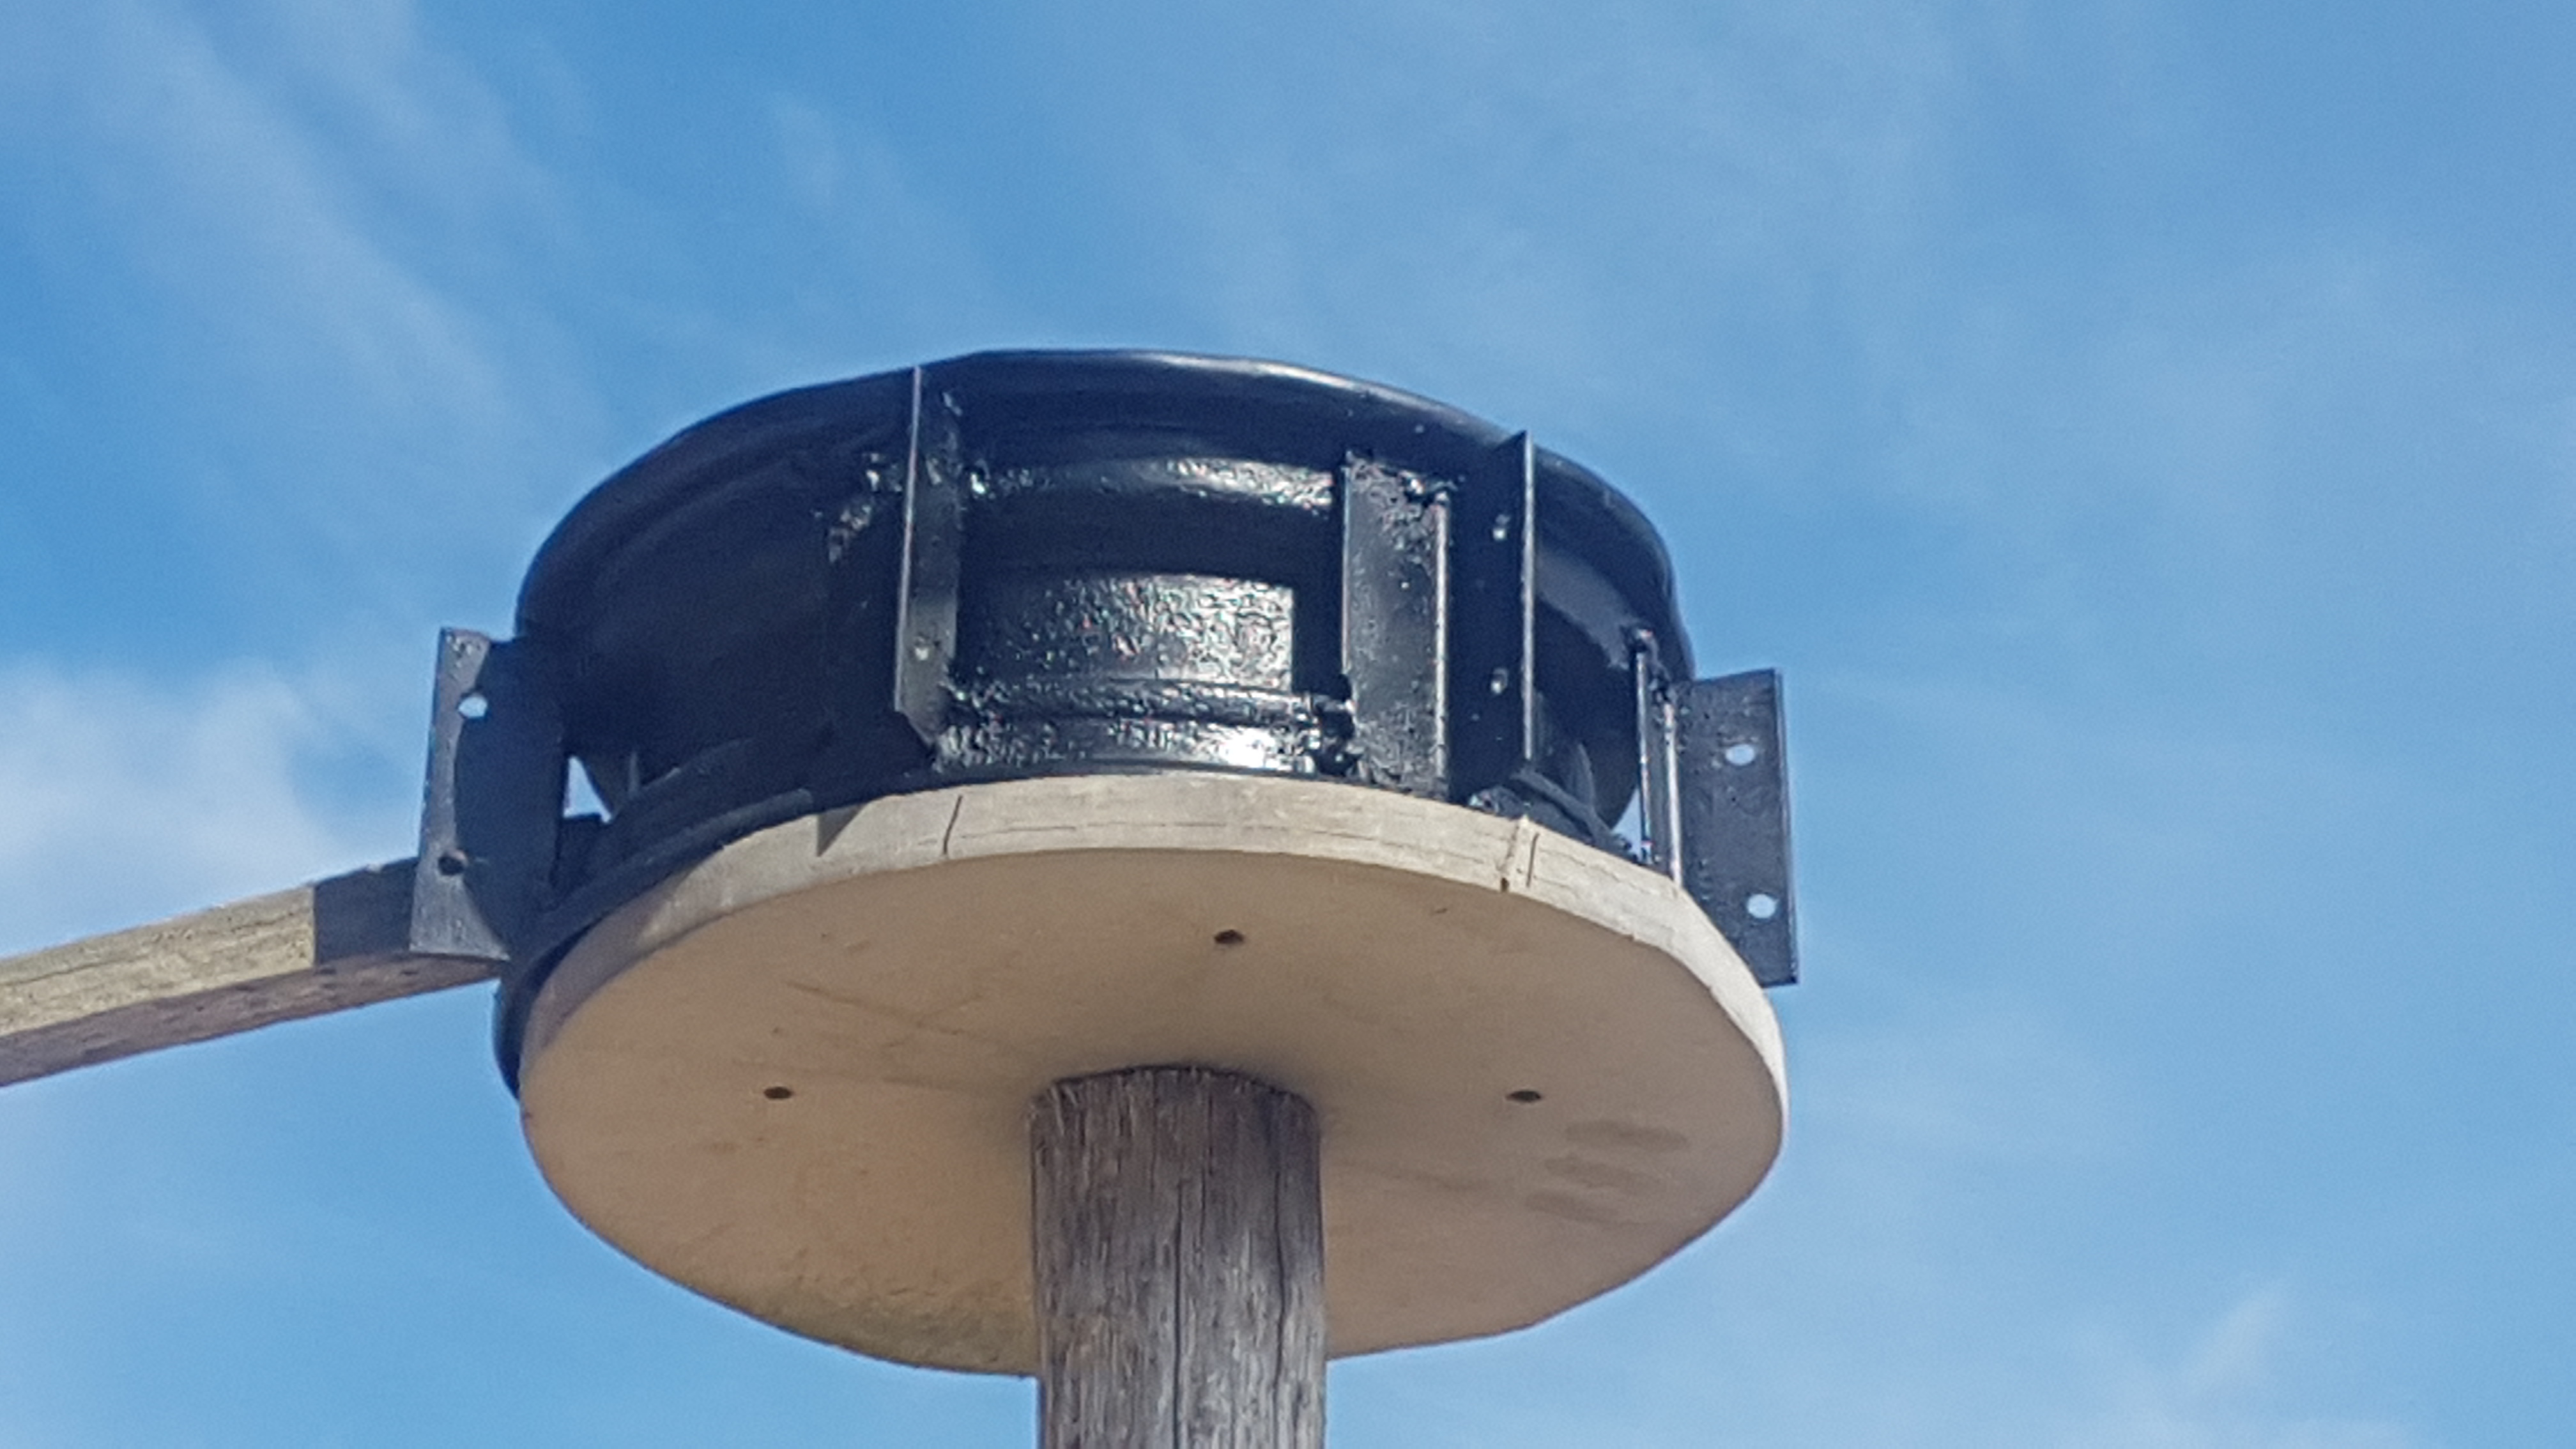
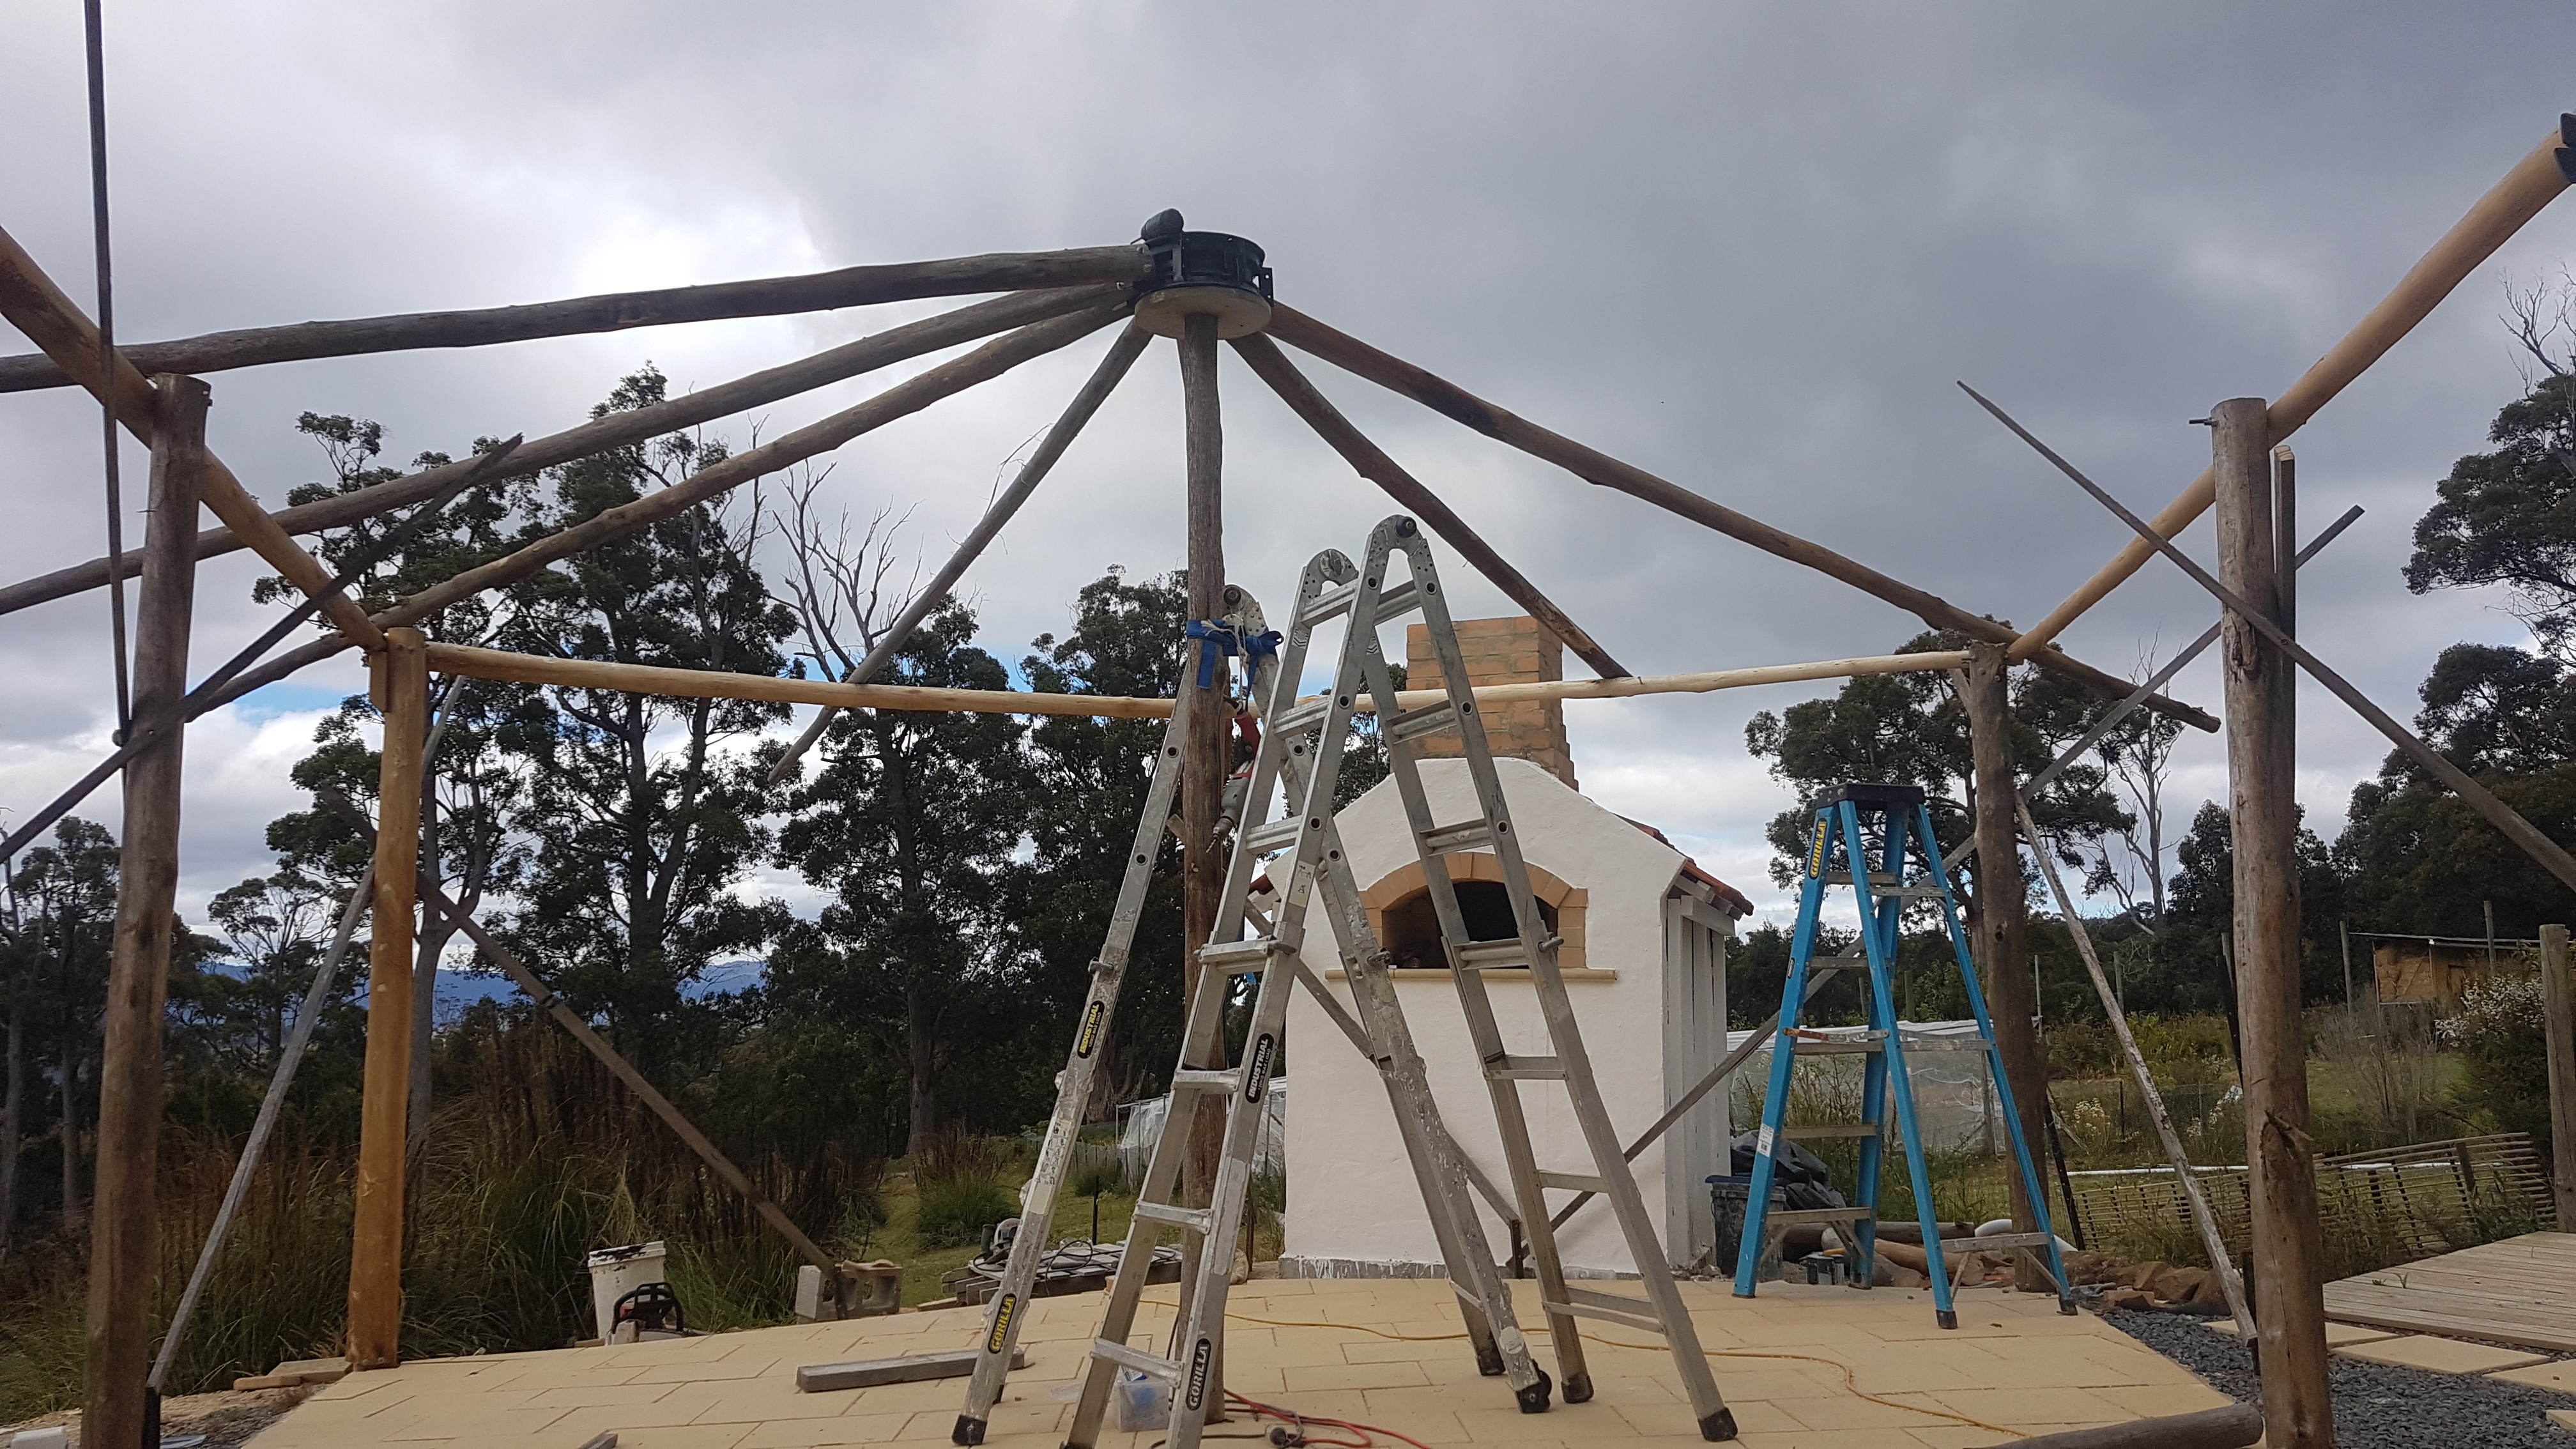
The paved area is approximately 30m², and we wanted to be able to use all of it without the hassle of a centre post, so we replicated the roofing design that we used in the Wind Sheltered Patio. Once again, we used a car rim to form the centre of the pergola and set this upon a temporary post that would be removed at the end.
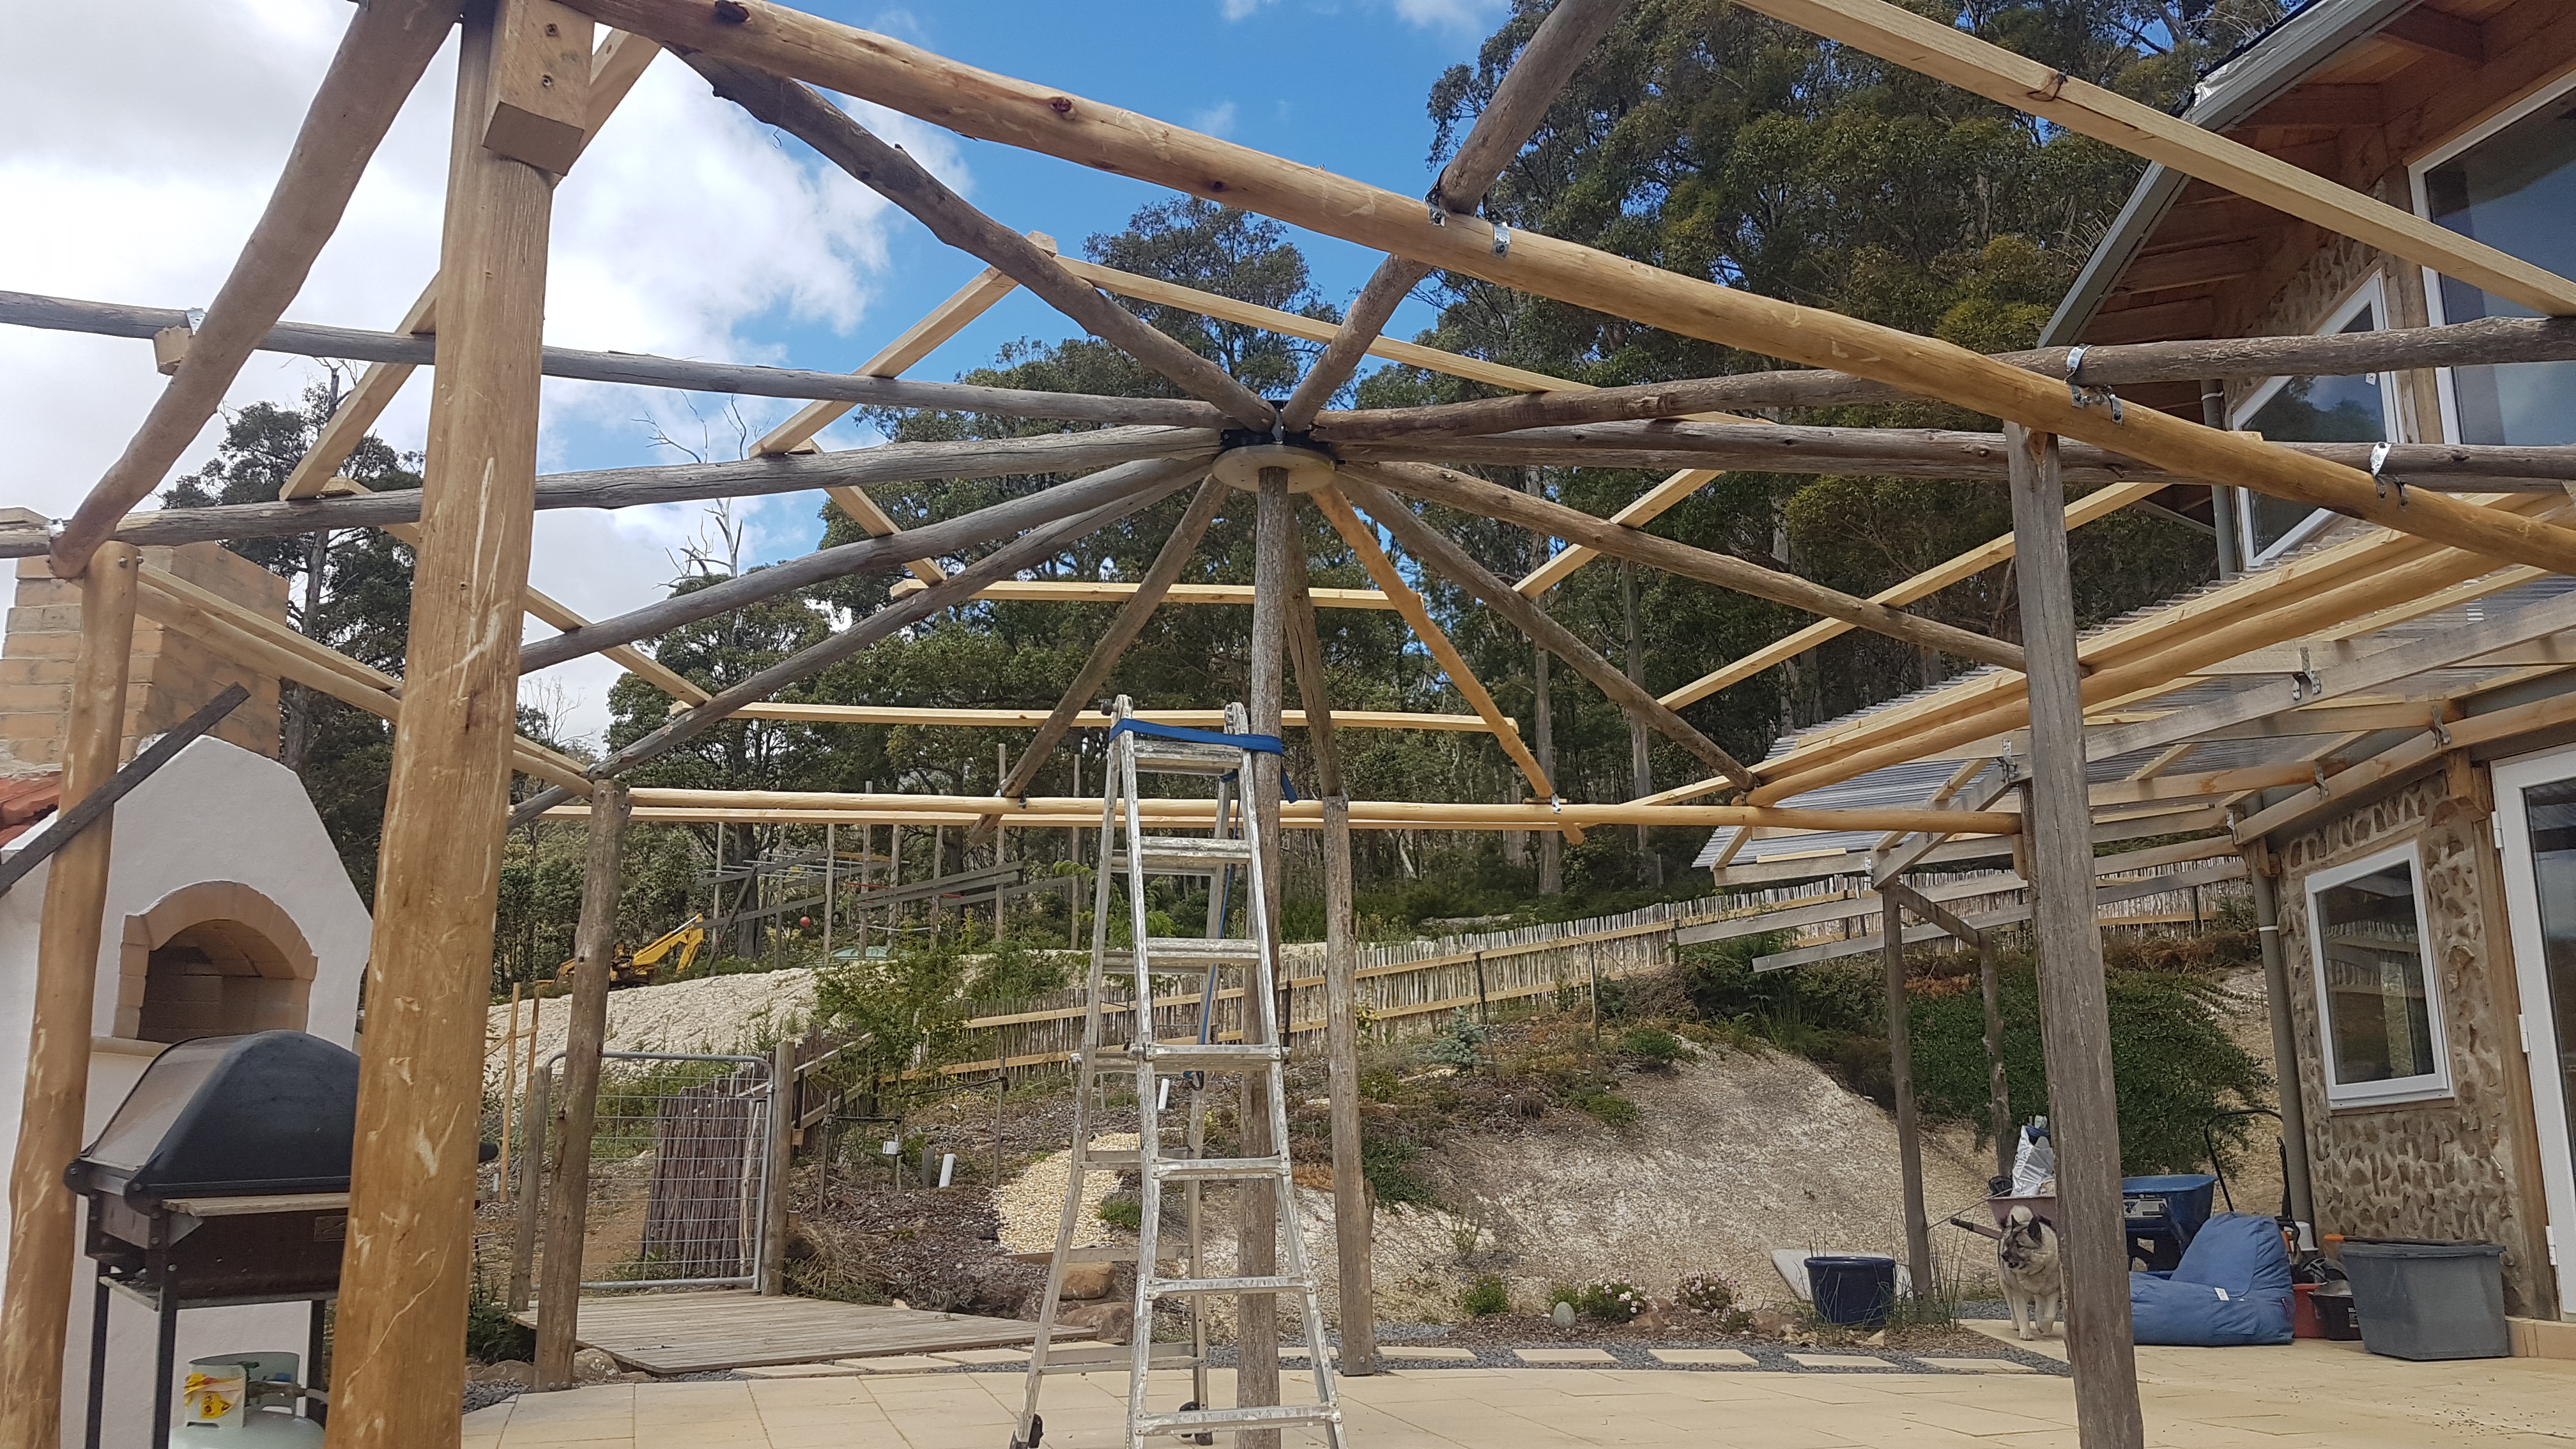
This paved area is on the north side of our house, and we didn’t want to cut out too much sun coming into the house with a covered pergola, but by the same token, we knew that clear Laserlite can create a hothouse effect. We decided we would go with a tinted Laserlite called ‘Opal’ which reduces light by 49% but also claims to reduce heat by 52%. Better to have a little less light and still be able to sit there in Summer.
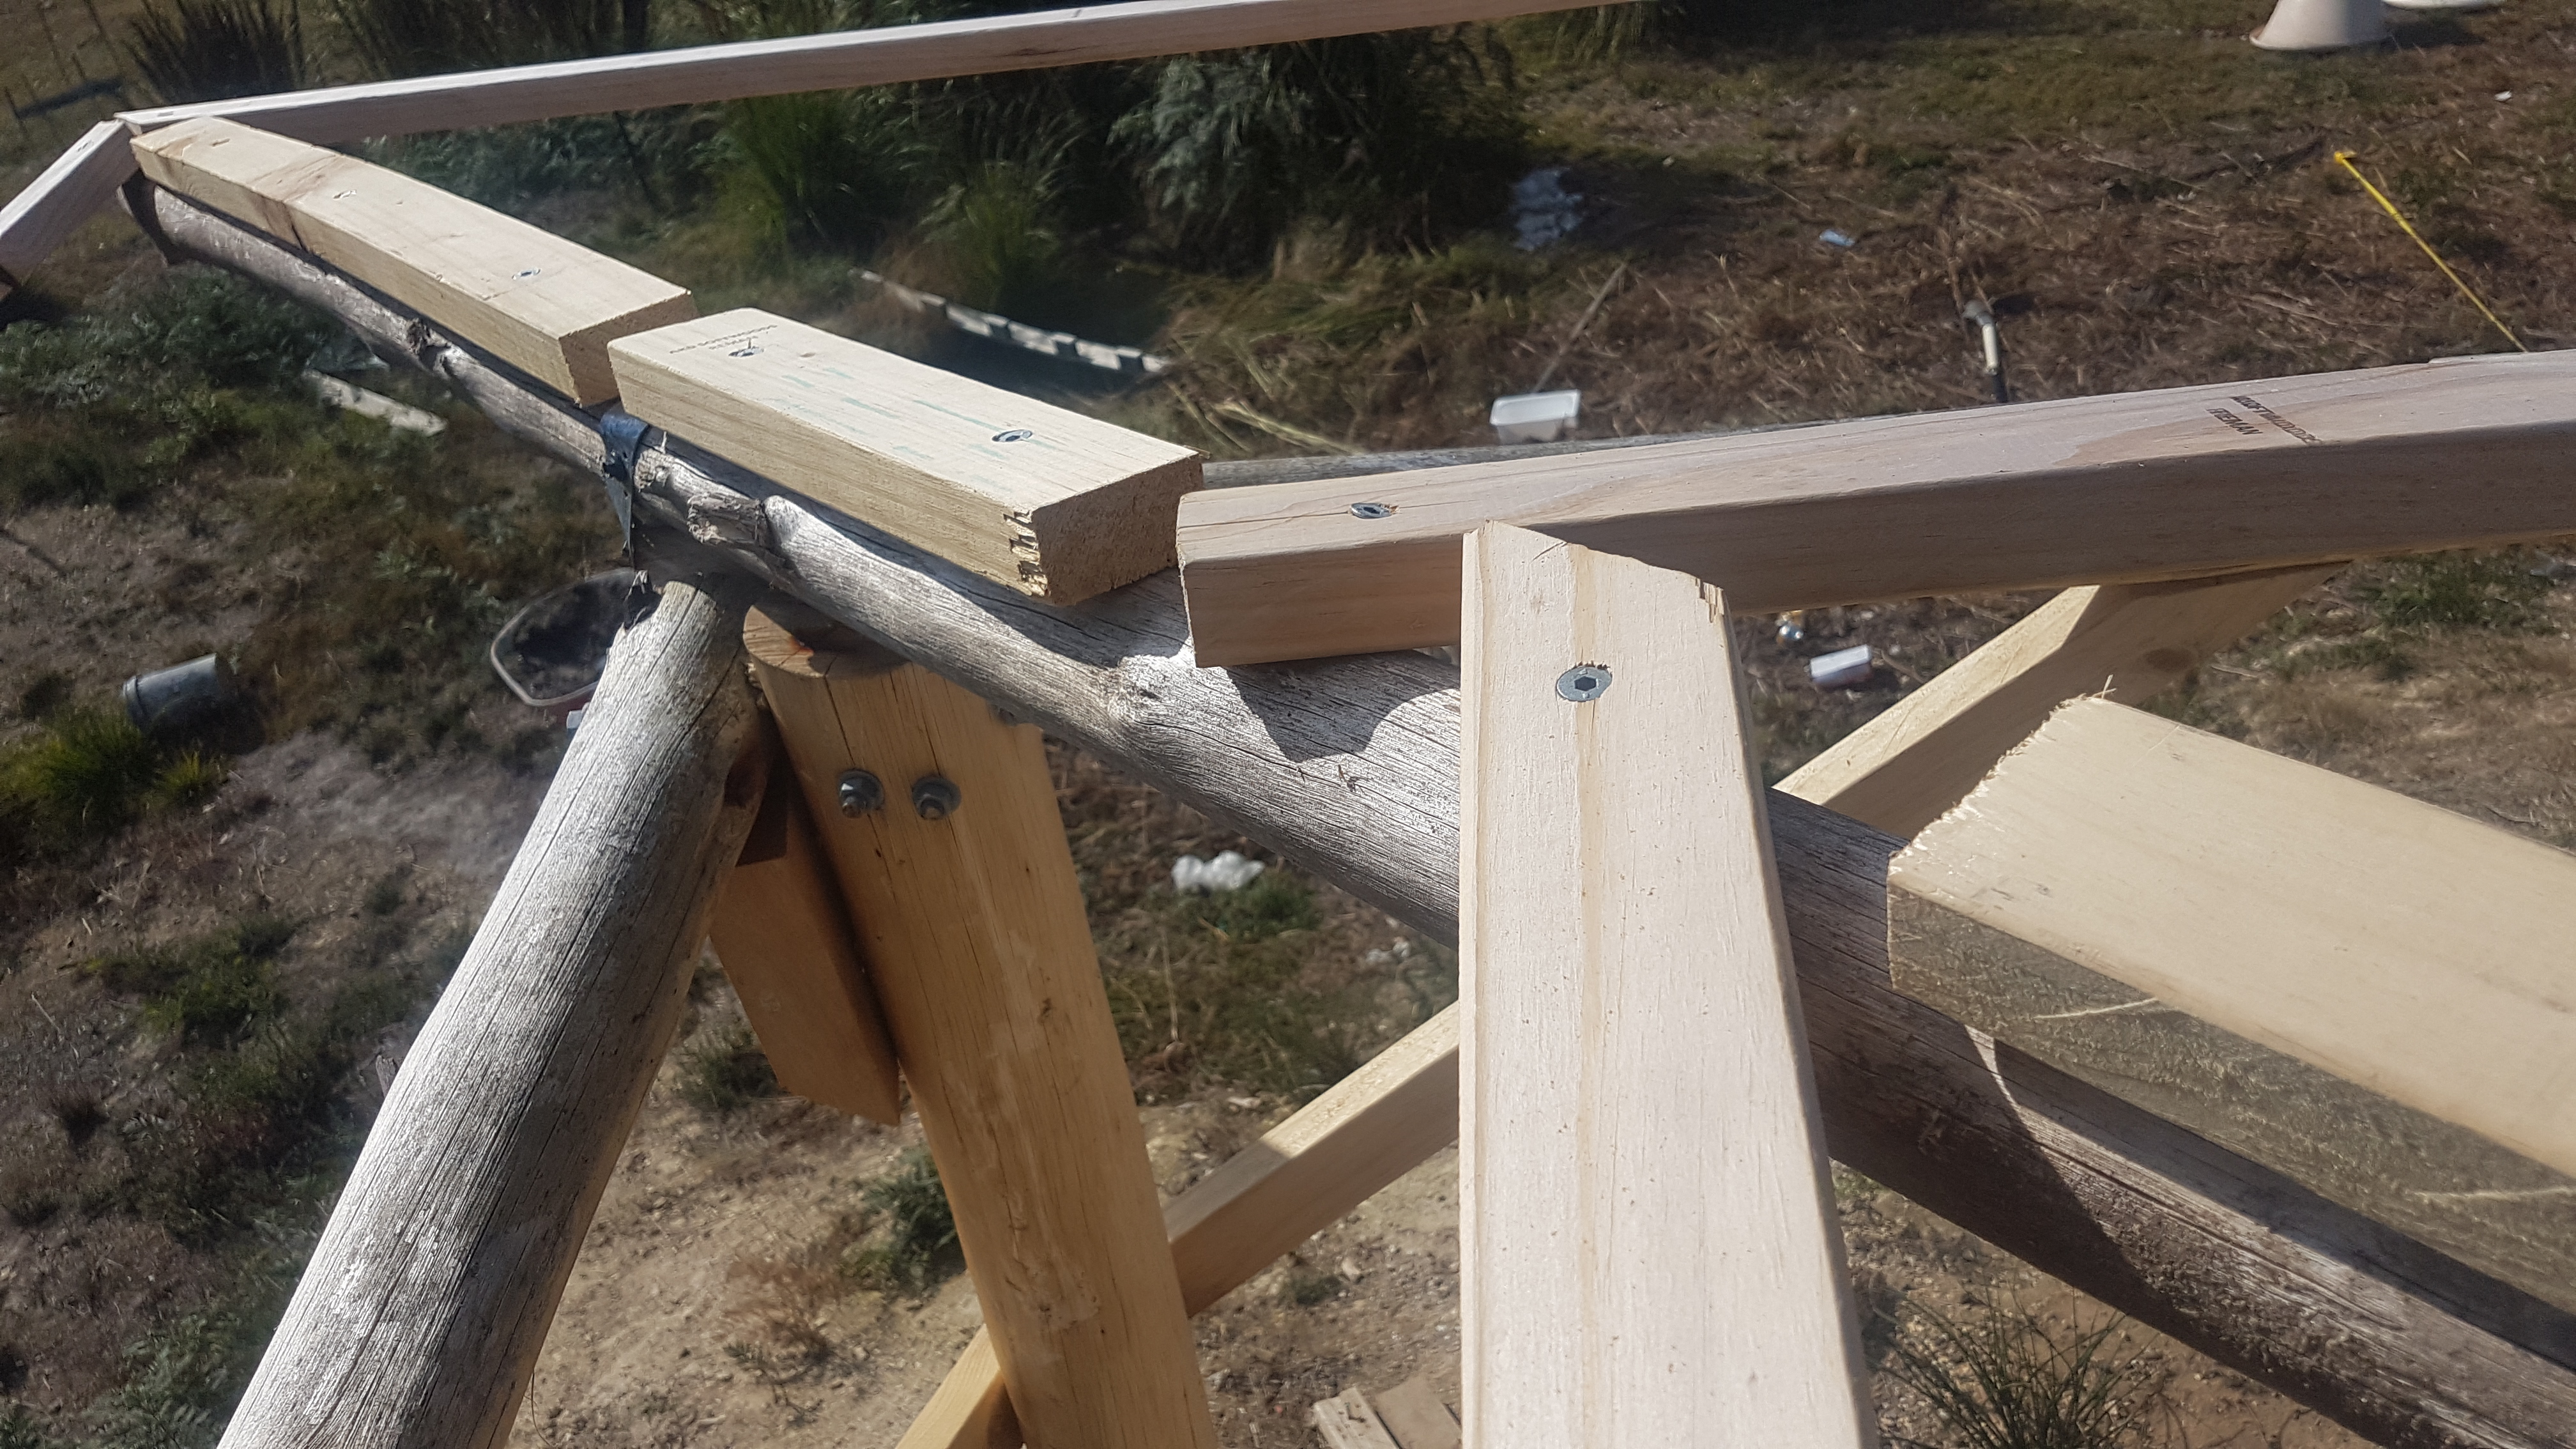
We used 70 x 35 mm non-structural pine for battening out; this pine is thick enough to screw into, but also cheap.
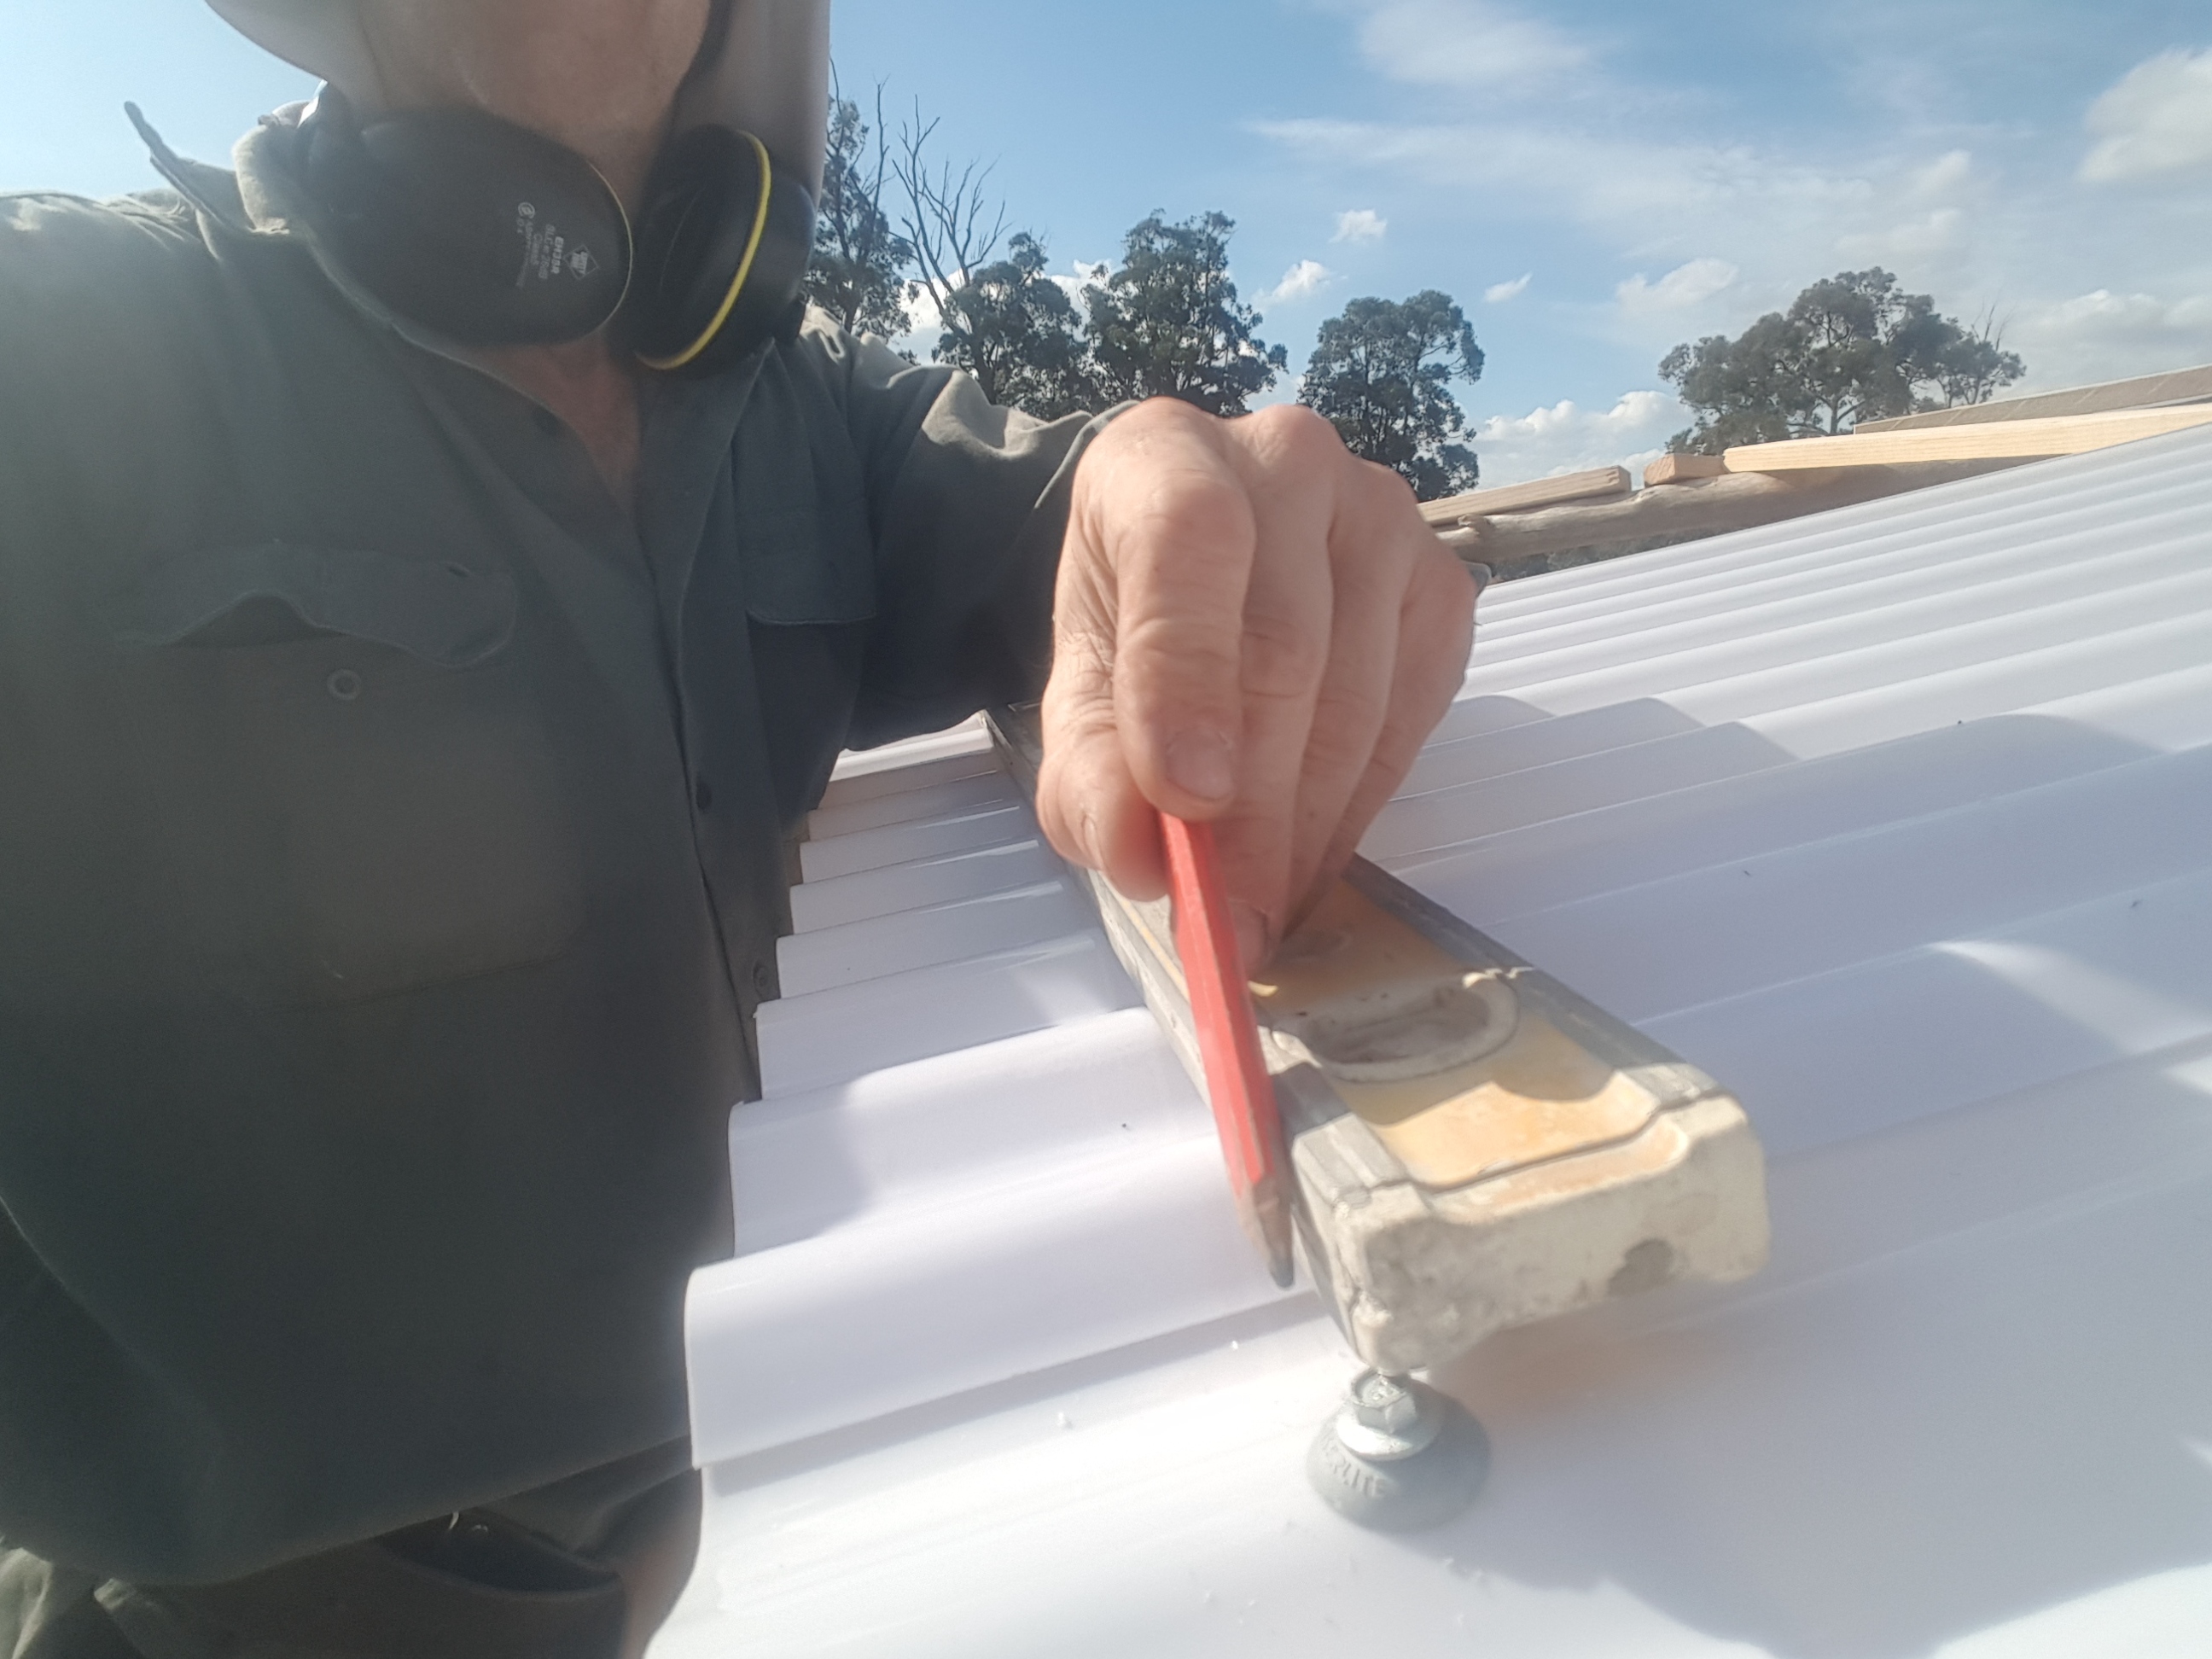
Drawing a pencil line along the laserlite made it easy to keep all the roofing screws in a straight line, and it is faster than doing a chalkline when a person is working alone. The overhang for the Laserlite is 60mm.
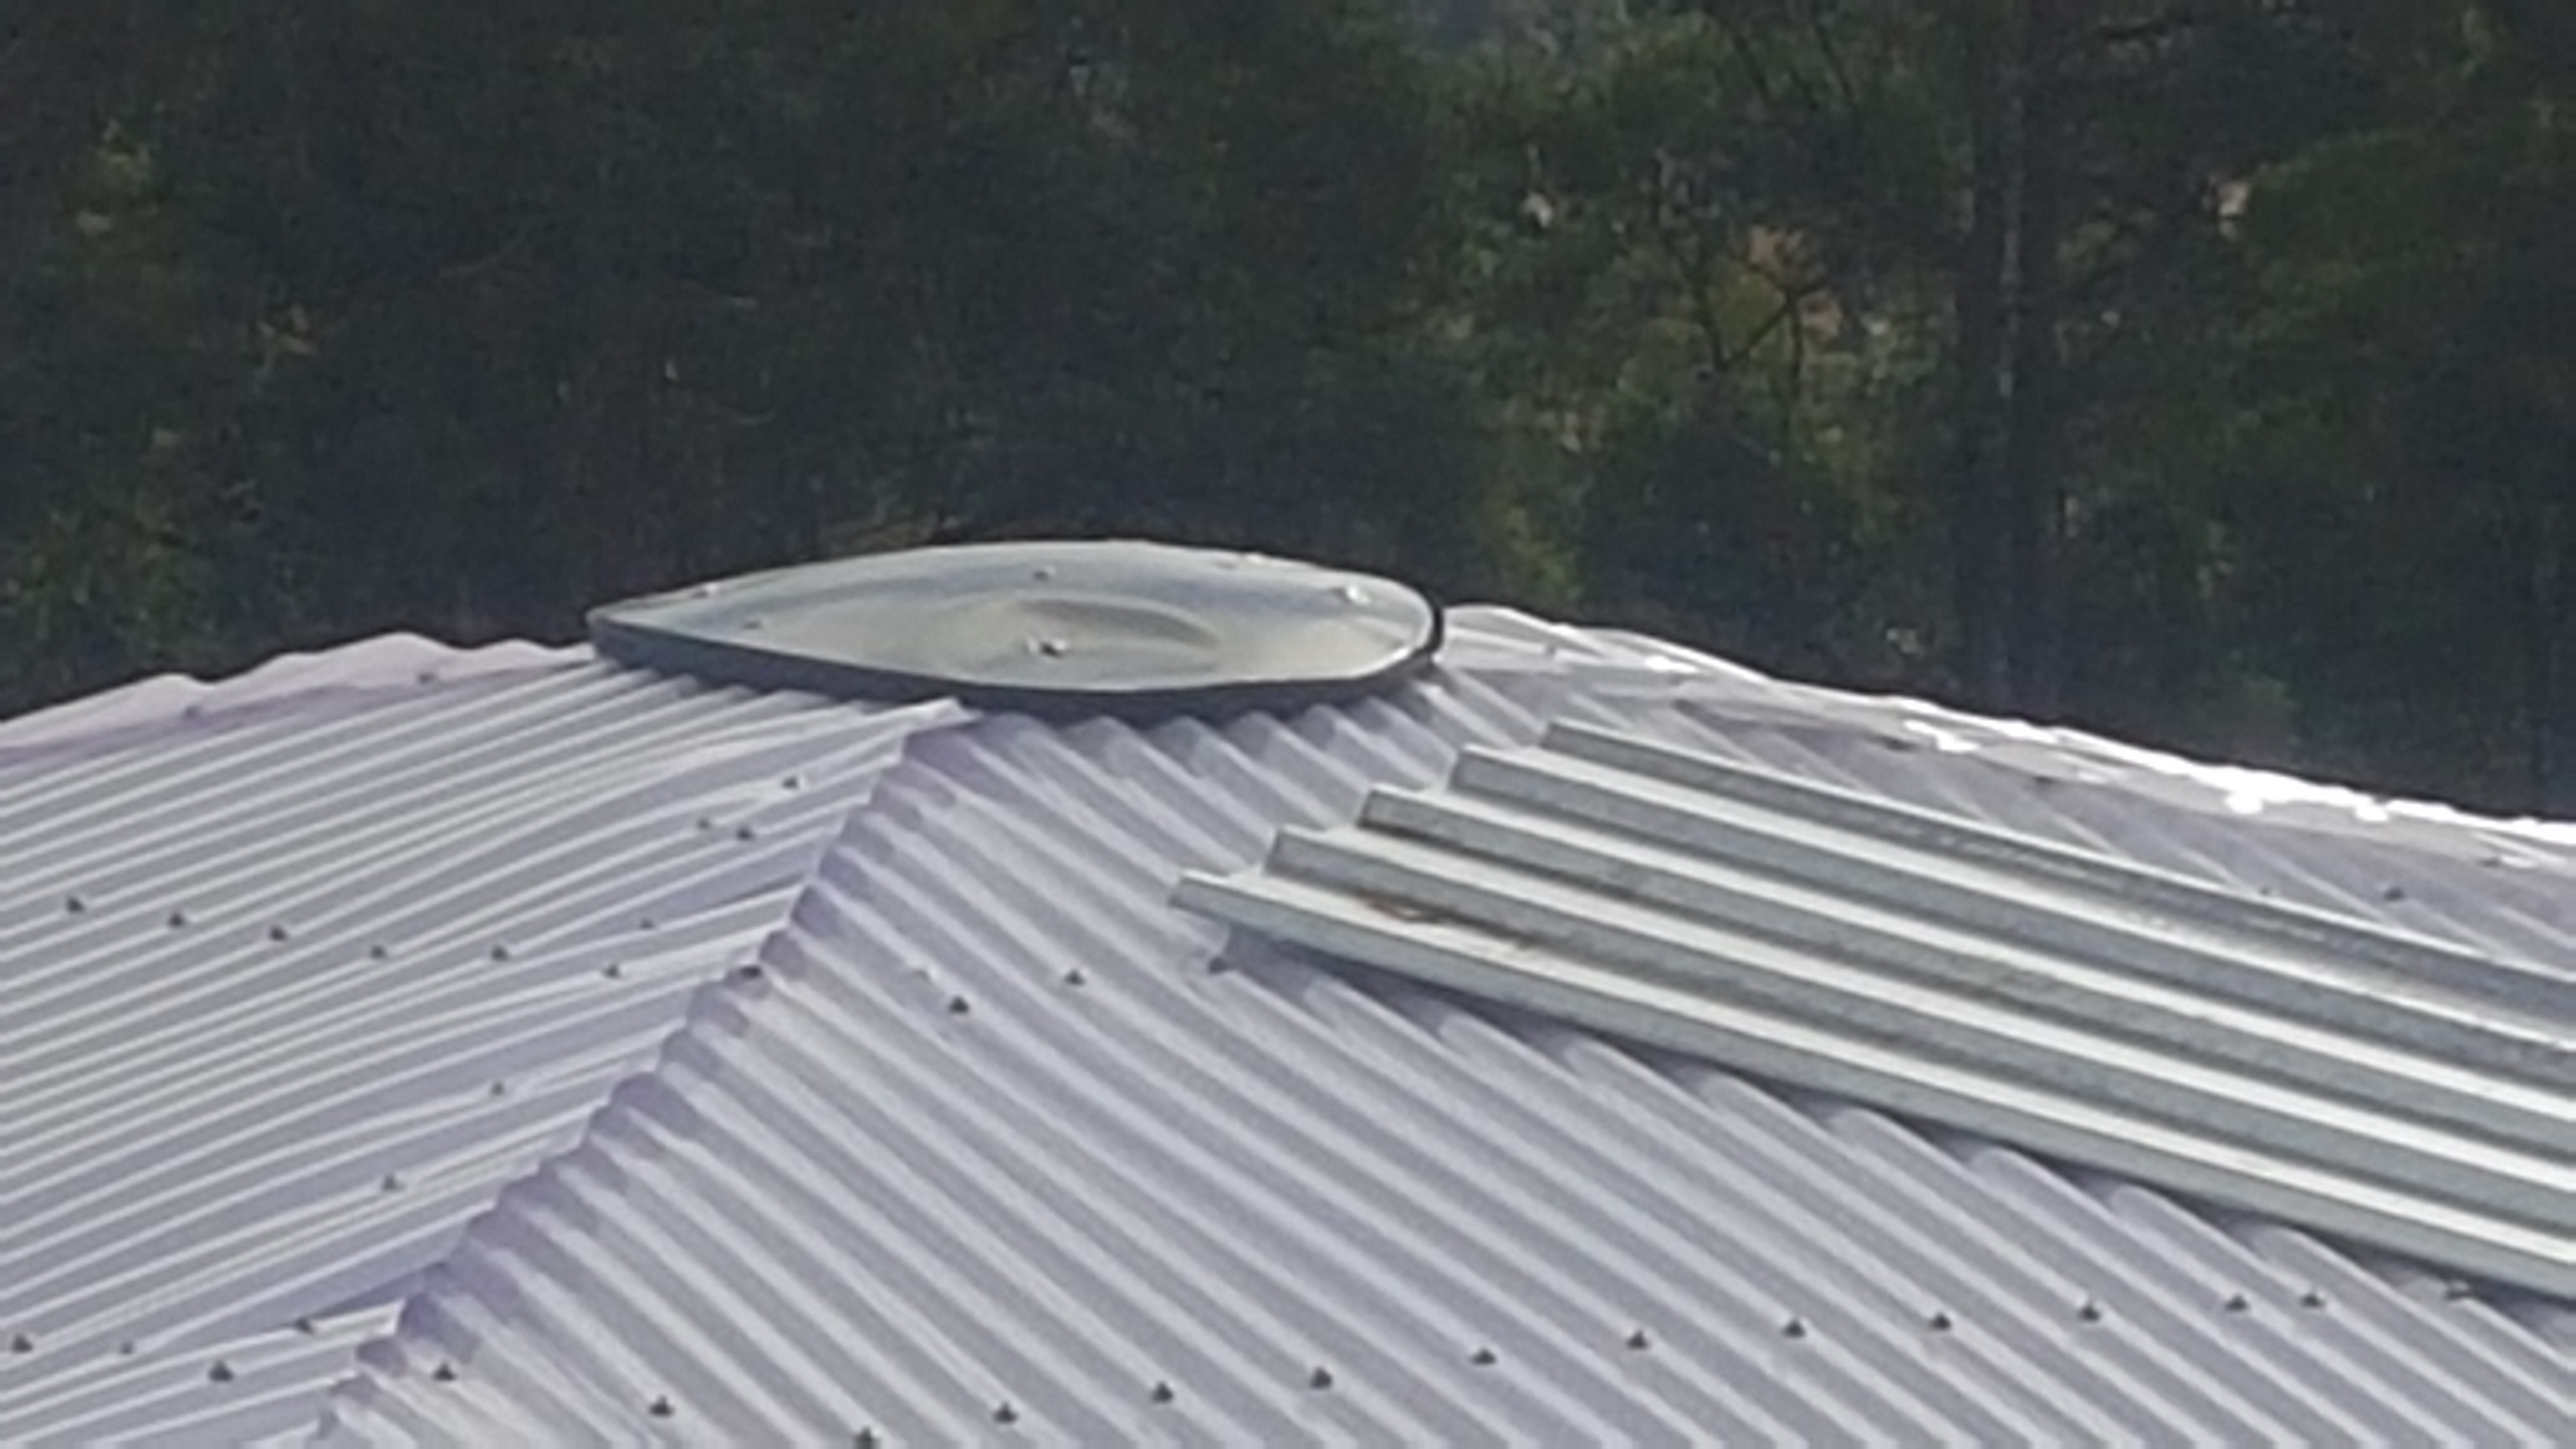
Completing our cheap build, we used an old tip-shop satellite dish we had lying around (it was supposed to be made into another piece of gymnastics equipment, but we used something better suited) and secured this over the wheel rim for waterproofing. This was a bit tricky to put in place, since Laserlite cannot be walked on. Peter laid some corrugated iron over the laserlite and worked on that.
And finally the moment of truth- removing the temporary post.
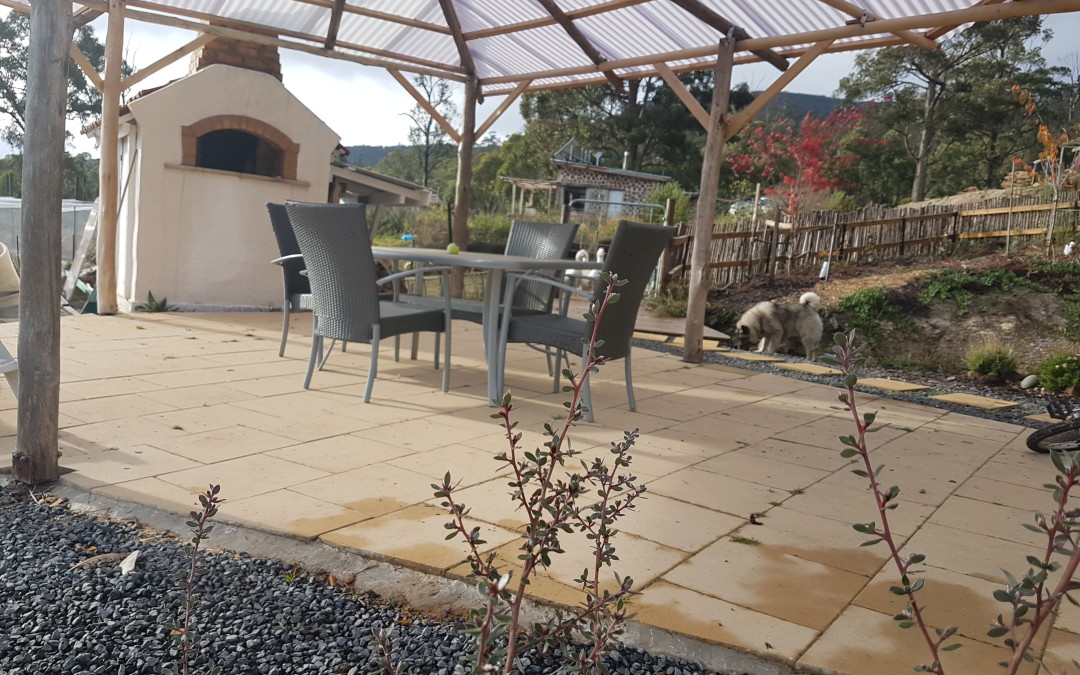
And there we have it- a new sitting/eating area right next to the pizza oven. We plan to build some kitchen benches to make the area even more user-friendly.
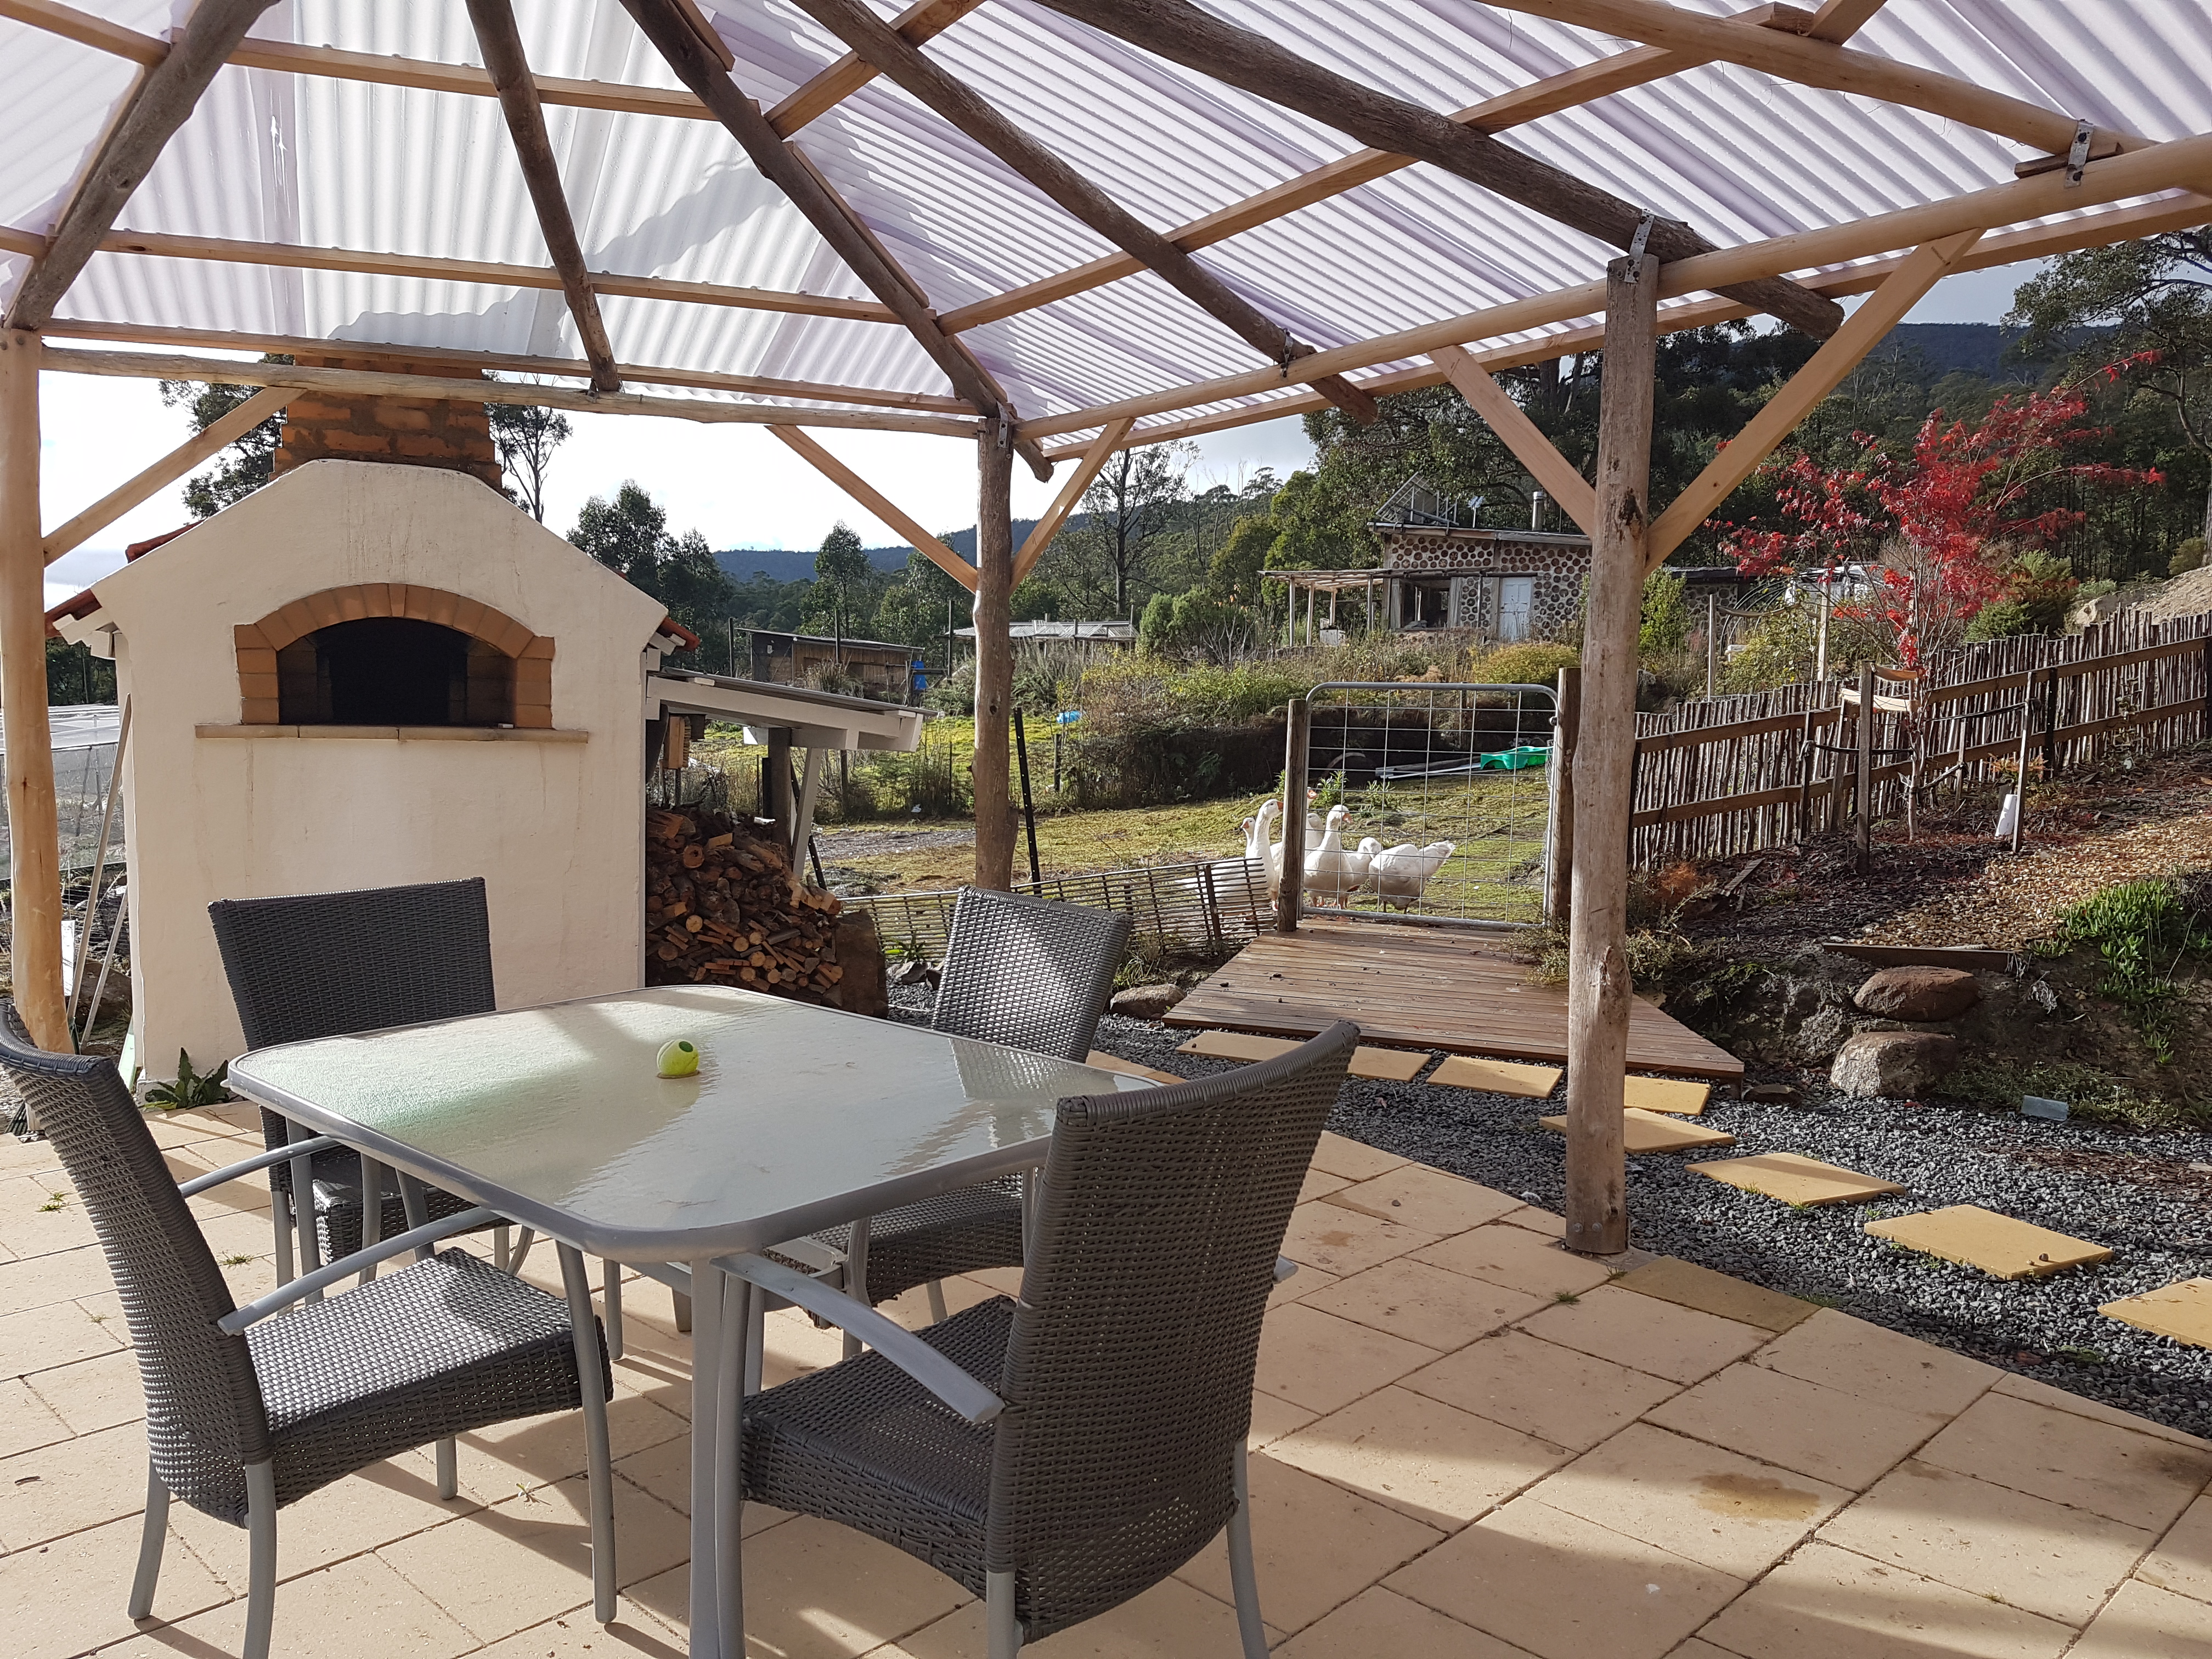
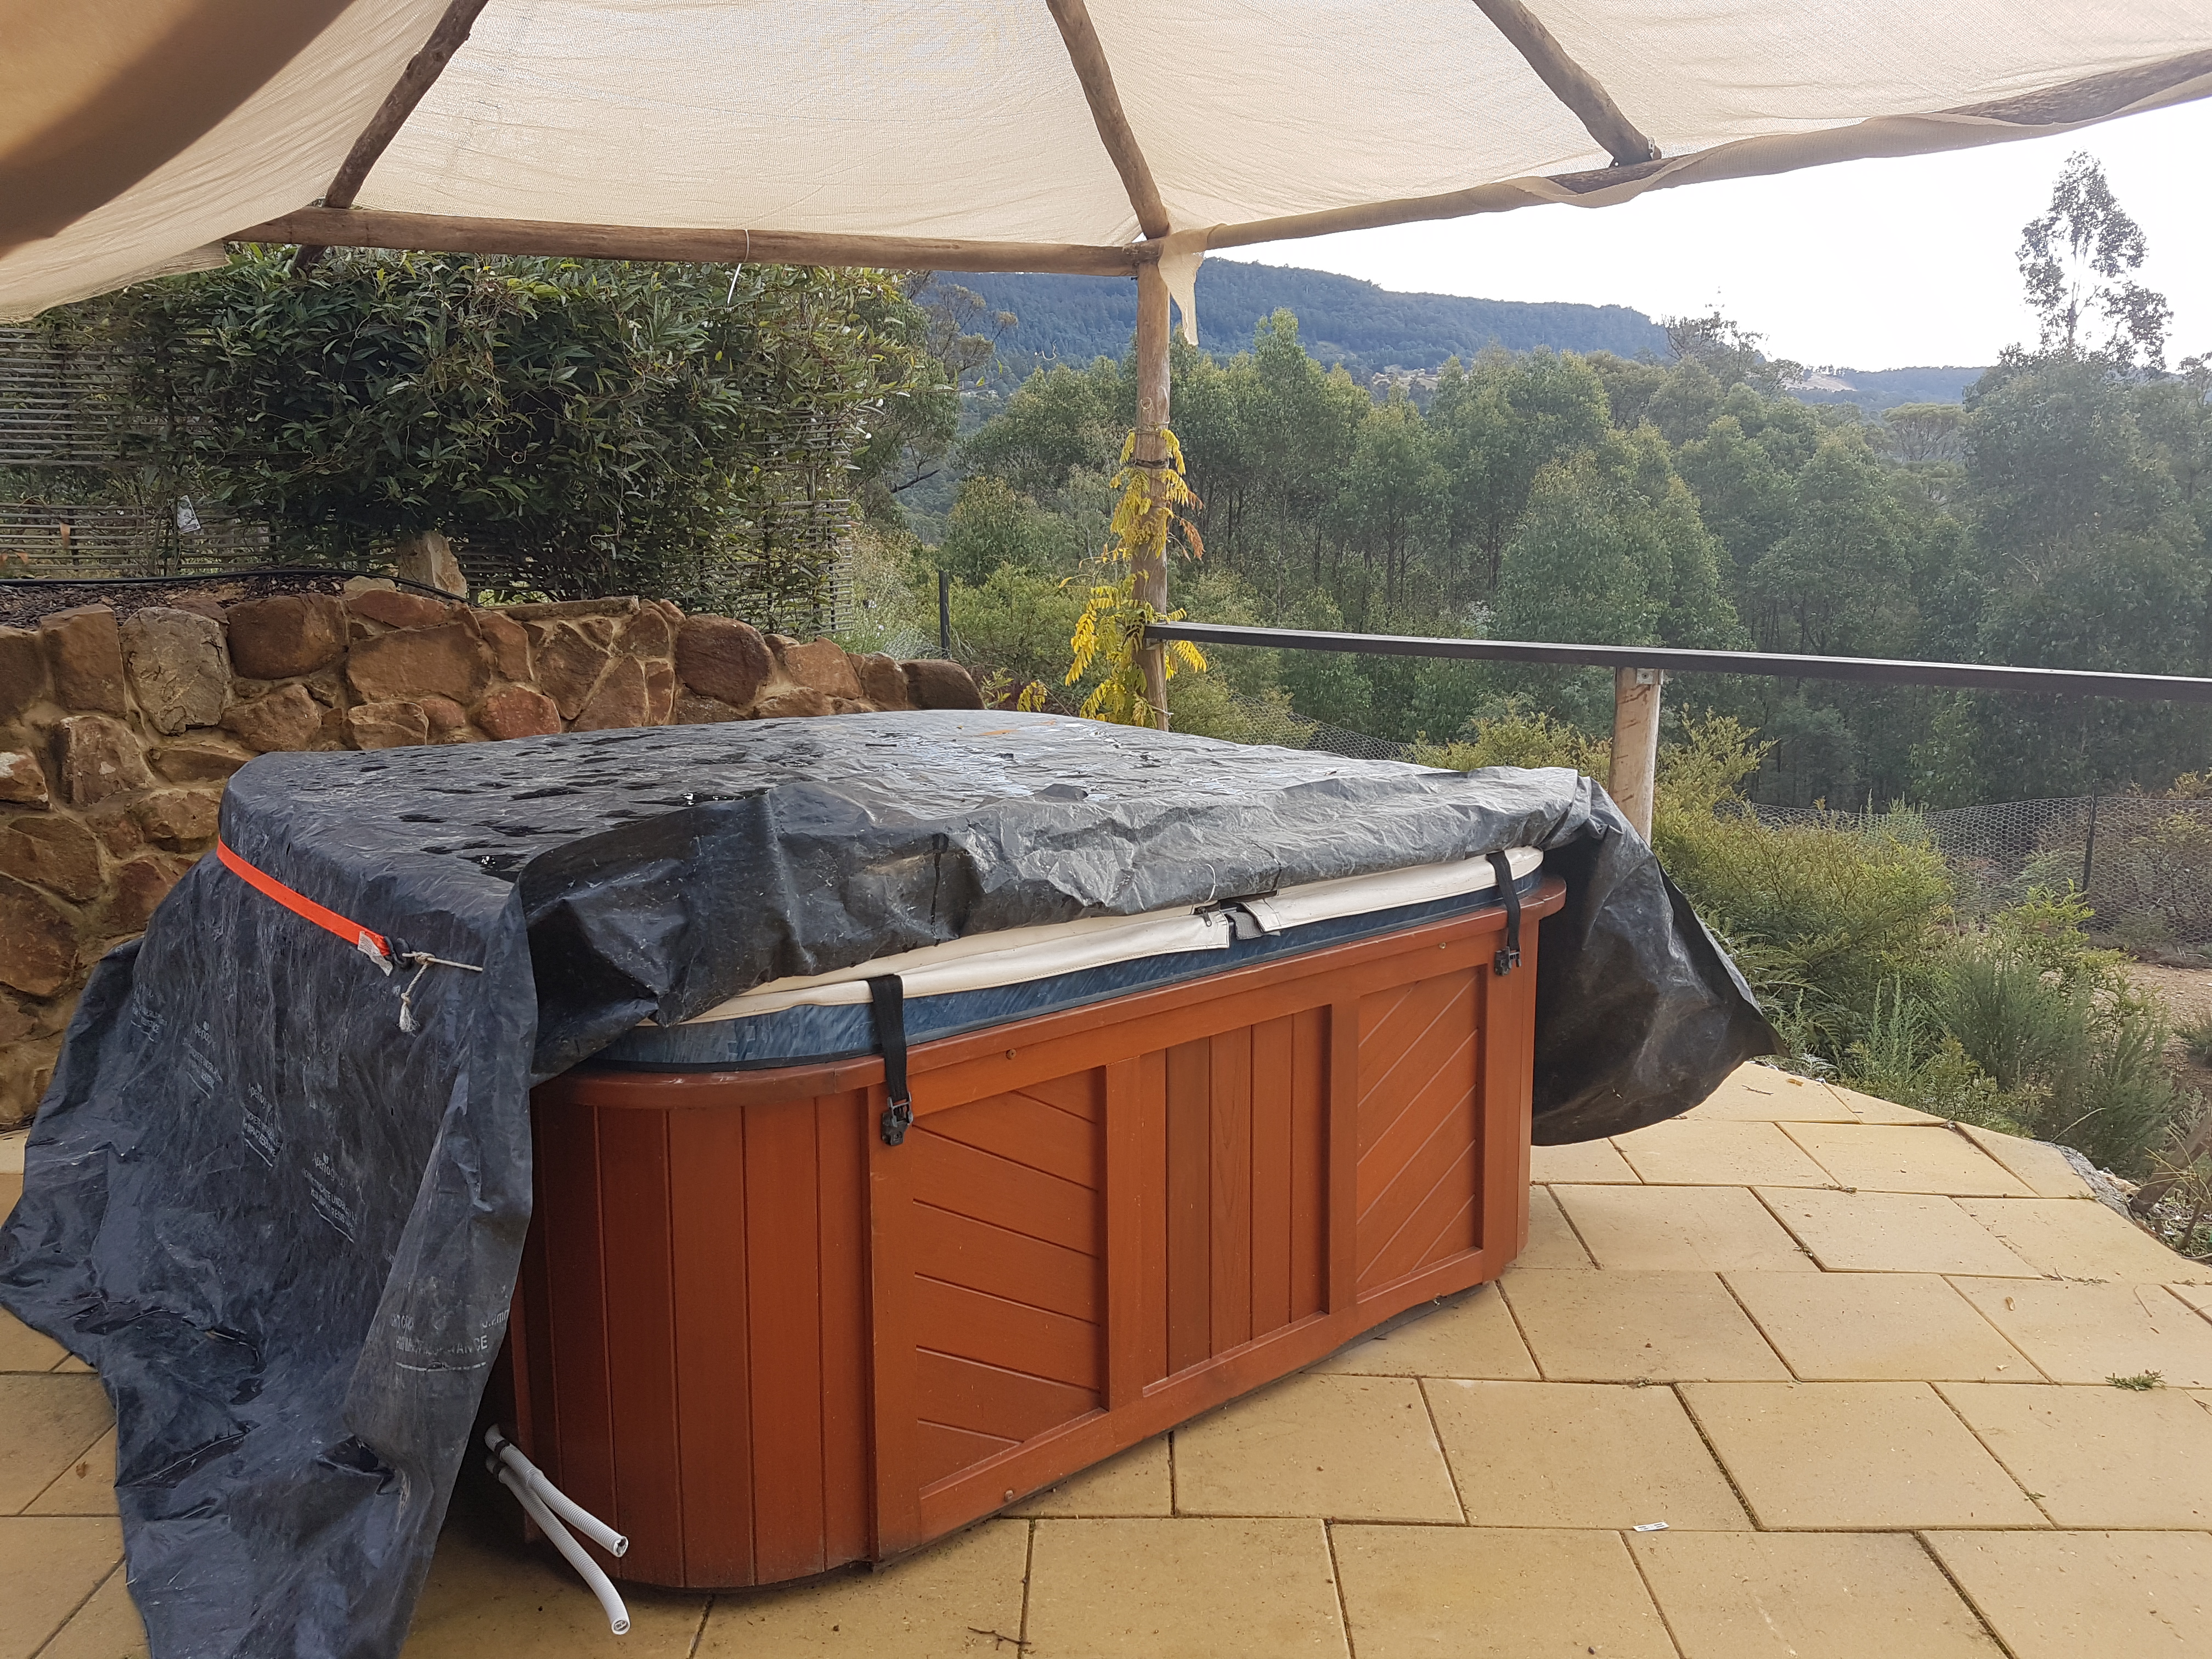
It was really bugging me, having two sitting areas so close to each other; I don’t like areas which aren’t utilised well, especially after all the effort that went into creating them. The covered patio clearly needs to be the outdoor eating area, since it is next to the pizza oven- so what to do with the wind-sheltered patio? We discussed having a nice outdoor lounge setting (a hassle to store cushions out of the rain), hammocks (how much weight could the bushpole patio hold?), and sun lounges (would have to be plastic, and wouldn’t we eventually want them to be by a pool, rather than on the Wind Sheltered Patio?). We were stumped.
Until…we had a really, really good idea.
To be continued.

Recent Comments